Aws Devops Pipeline With Sonarqube Docker And Github Integration
September 2023 (1417 Words, 8 Minutes)
Welcome to this project, where we will harness the power of Jenkins CI/CD Pipeline, SonarQube, Docker, and GitHub Webhooks on the robust platform of Amazon Web Services (AWS). With Jenkins as our orchestrator, we automate every step of the development lifecycle, ensuring seamless integration, testing, and deployment. SonarQube, our code quality sentinel, scrutinizes every line of code to maintain the highest standards of software excellence. Docker empowers us to containerize our applications, granting us unparalleled portability and scalability. GitHub, the cornerstone of modern software development, is seamlessly integrated through webhooks, allowing us to synchronize our source code and collaborate effortlessly.
So, whether you’re an experienced DevOps engineer or just embarking on your journey, join us as we navigate through the intricacies, challenges, and triumphs of our project. Together, we’ll uncover how these tools, working in harmony on the AWS cloud, can revolutionize your development pipeline and set you on a path to DevOps excellence. Welcome aboard!
STEP ONE
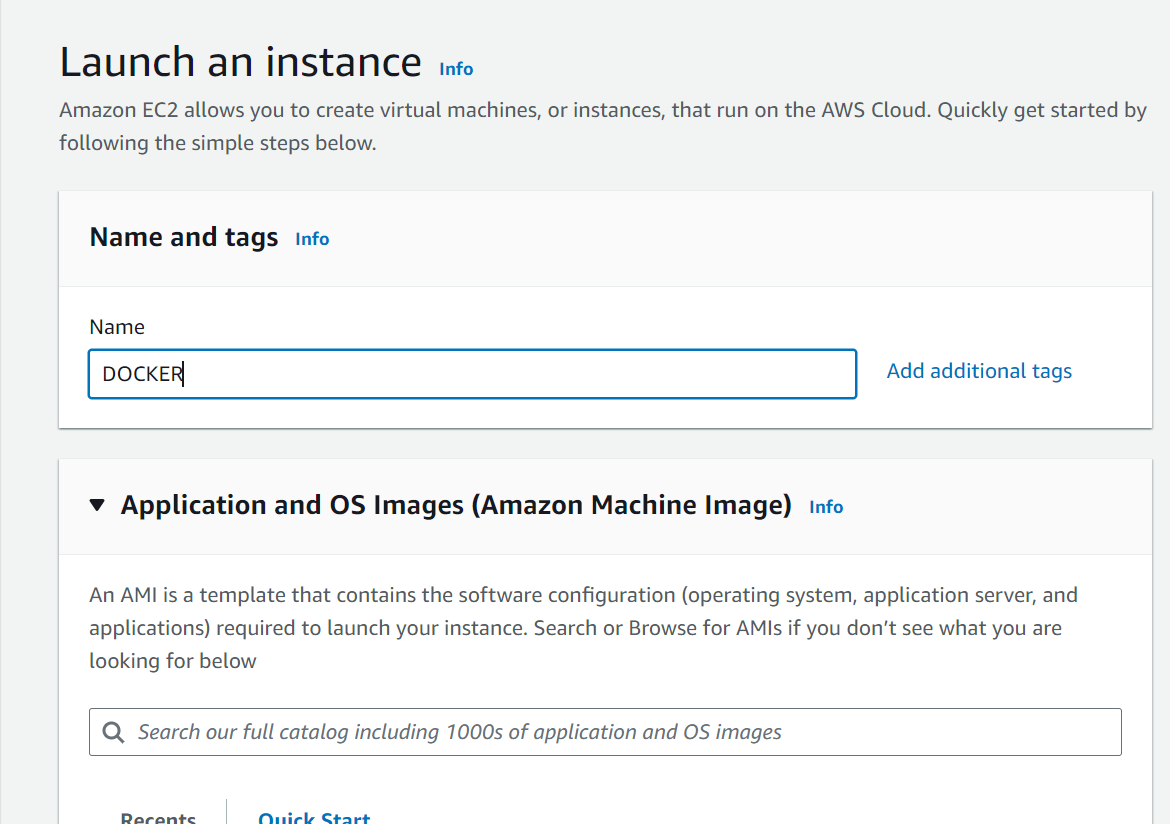
Login in to the AWS Management Console and create three EC2 Instances:
- EC2 Instance for Jenkins
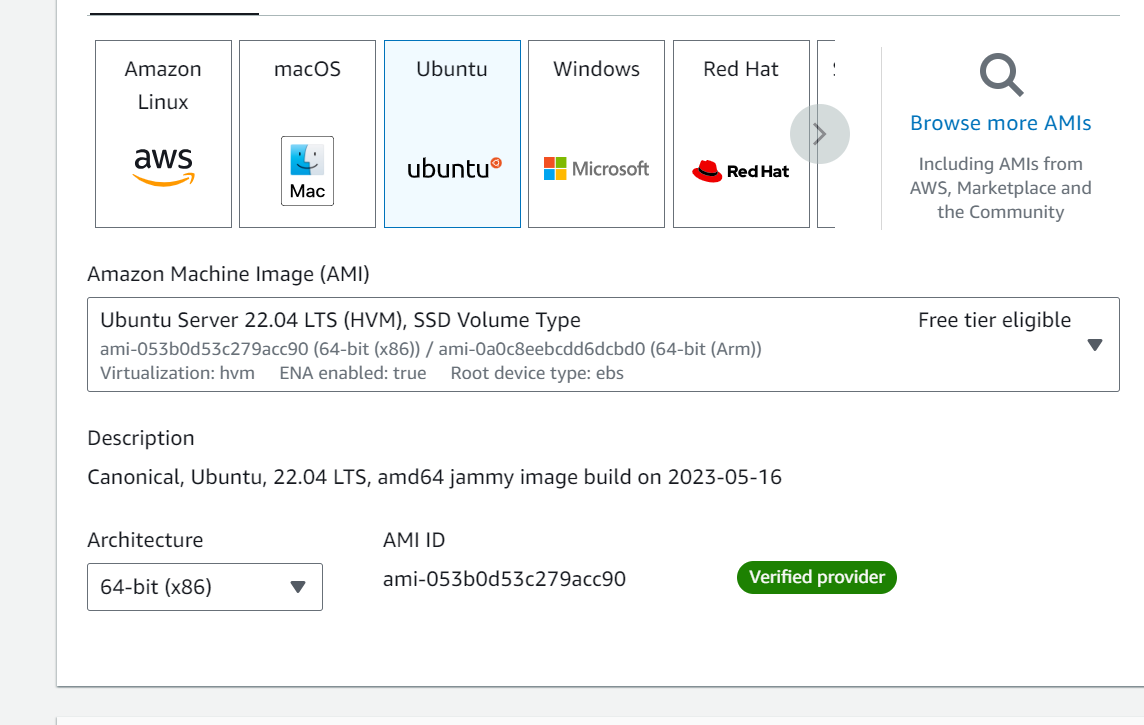
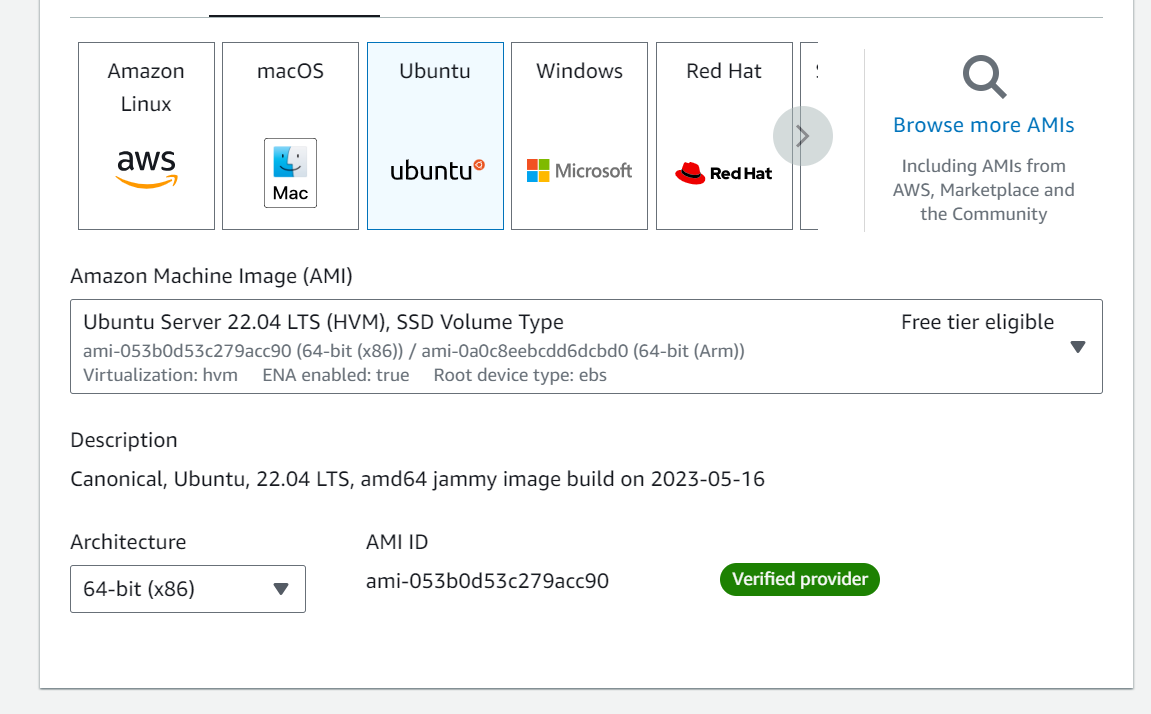
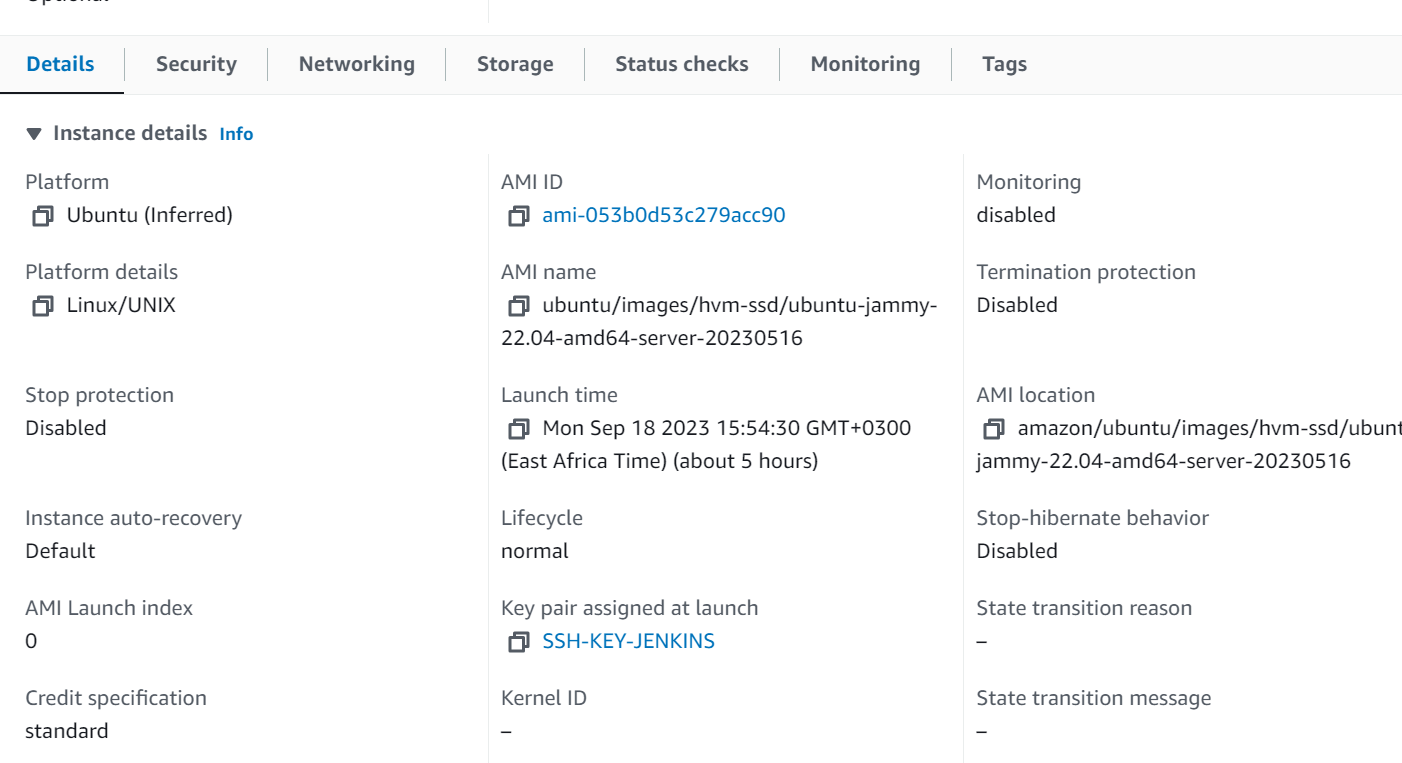
Create an EC2 instance and choose Ubuntu as the instance type.
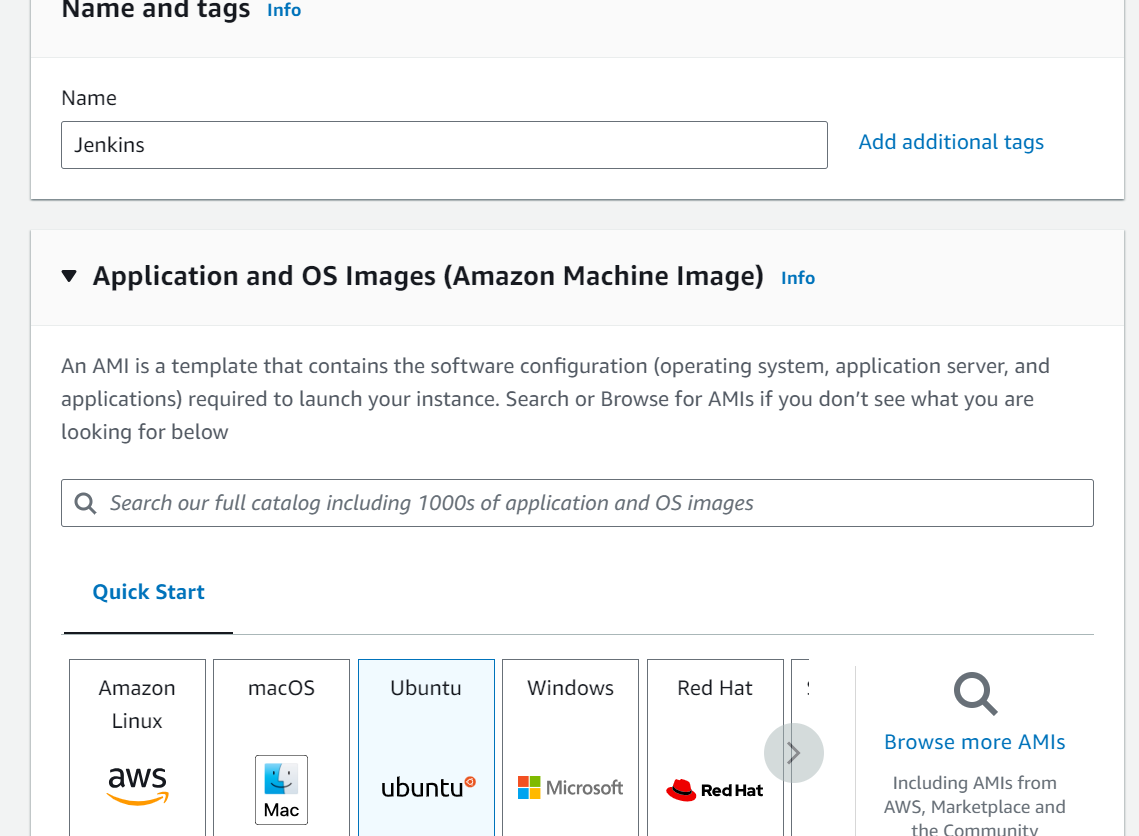
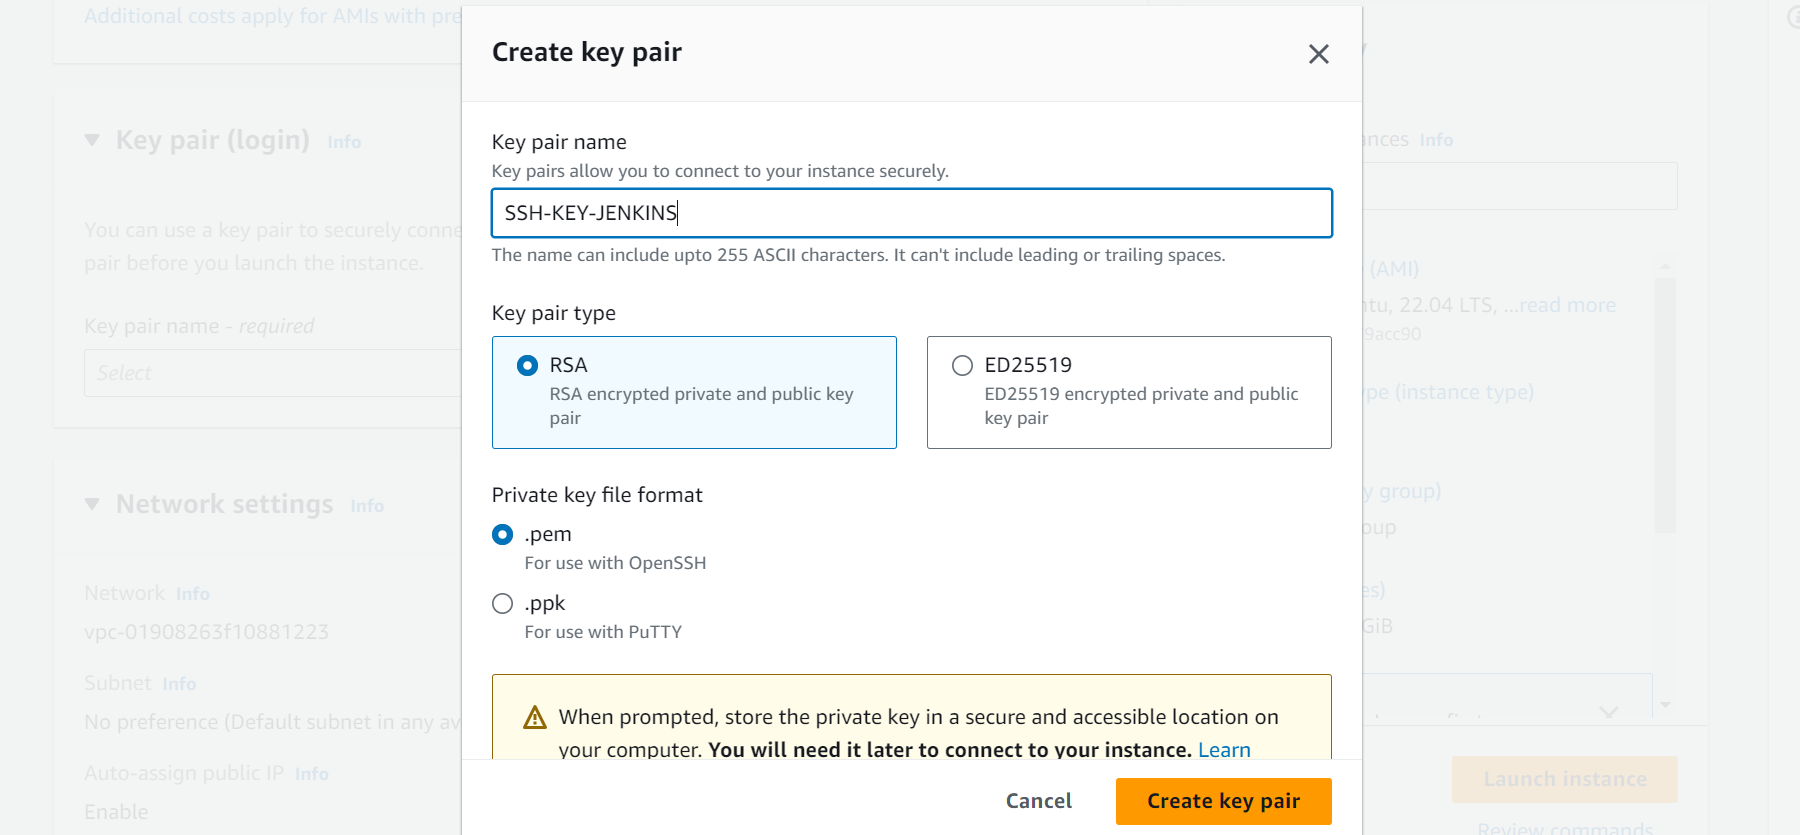
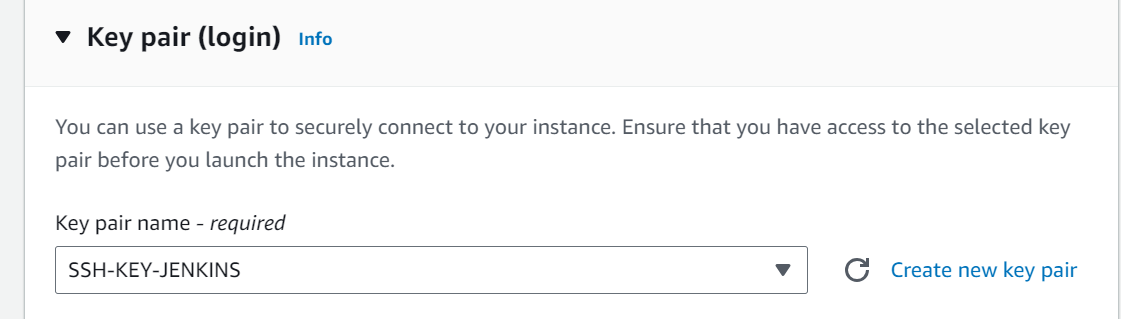
Create a Key pair to allow for SSH access to your instance
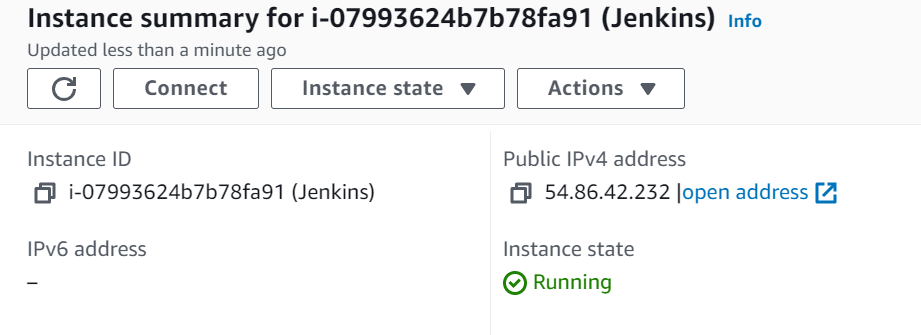
Launch Instance.

- EC2 Instance for SonarQube
Create an EC2 instance and choose Ubuntu as the instance type. Make sure the Instance type has reached the minimum requirements for SonarQube Installation. (atleast t2.medium)
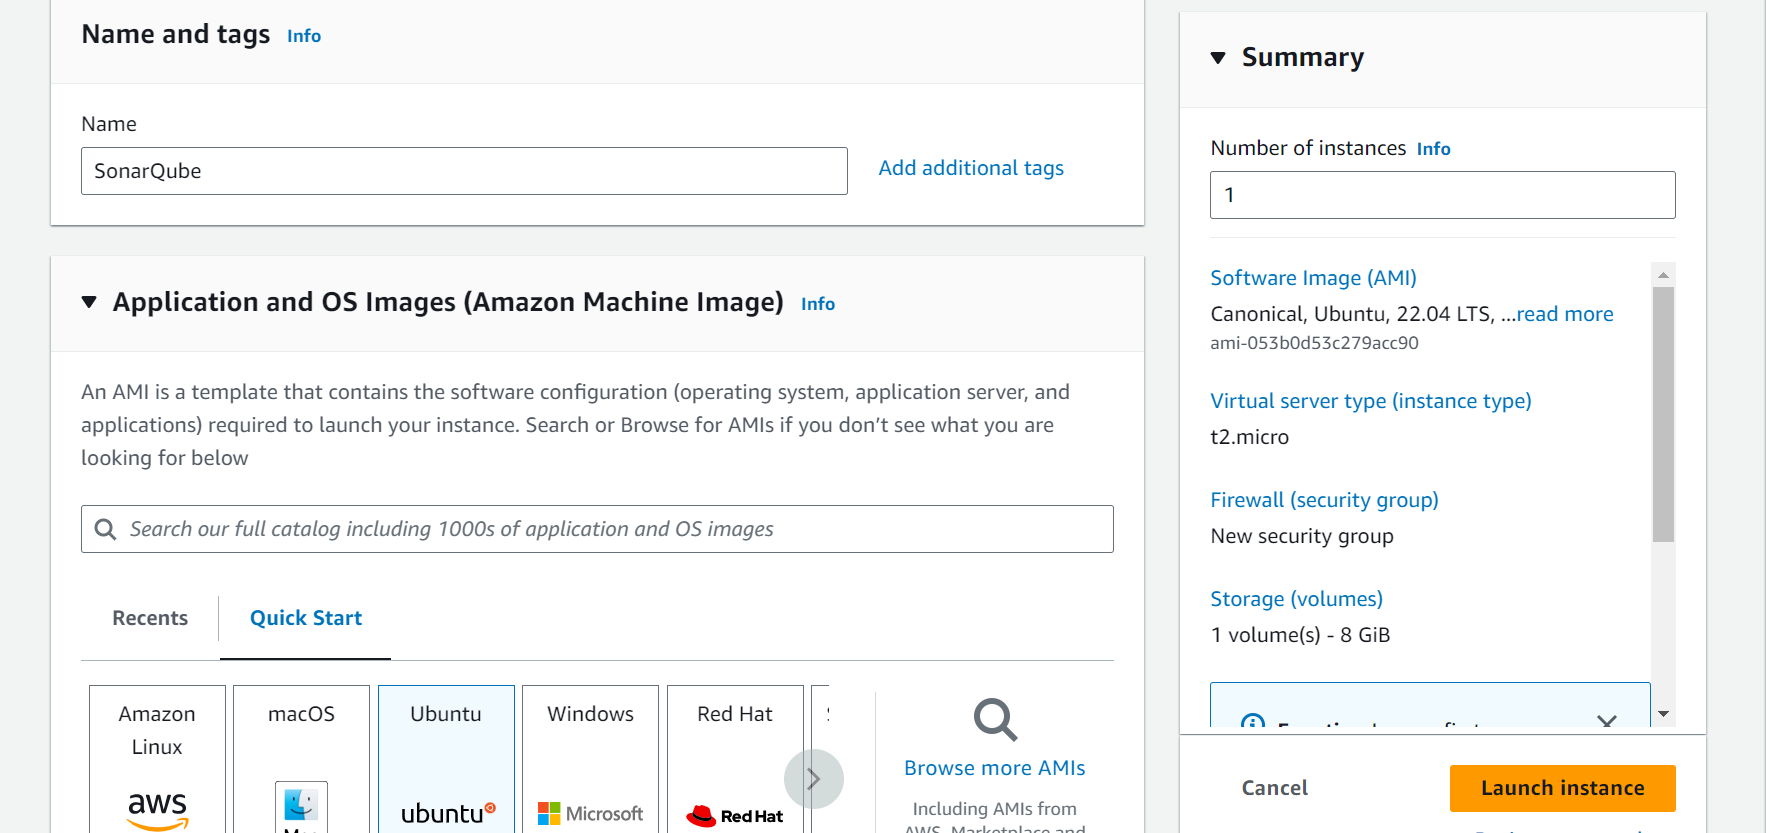
Use the Key we generated for Jenkins and Lauch Instance.

*EC2 Instance for Docker
Create an EC2 instance and choose Ubuntu as the instance type.

Use the Key we generated for Jenkins and Lauch Instance.
STEP TWO
SSH into the Jenkin Instance to Install Jenkins into the Instance
Copy the Public ip of the instance
Open a terminal and navigate to the directory where you stored the Key.SSH into your instance by using ssh -i (name of key) ubuntu/windows/macOs@public ip adress
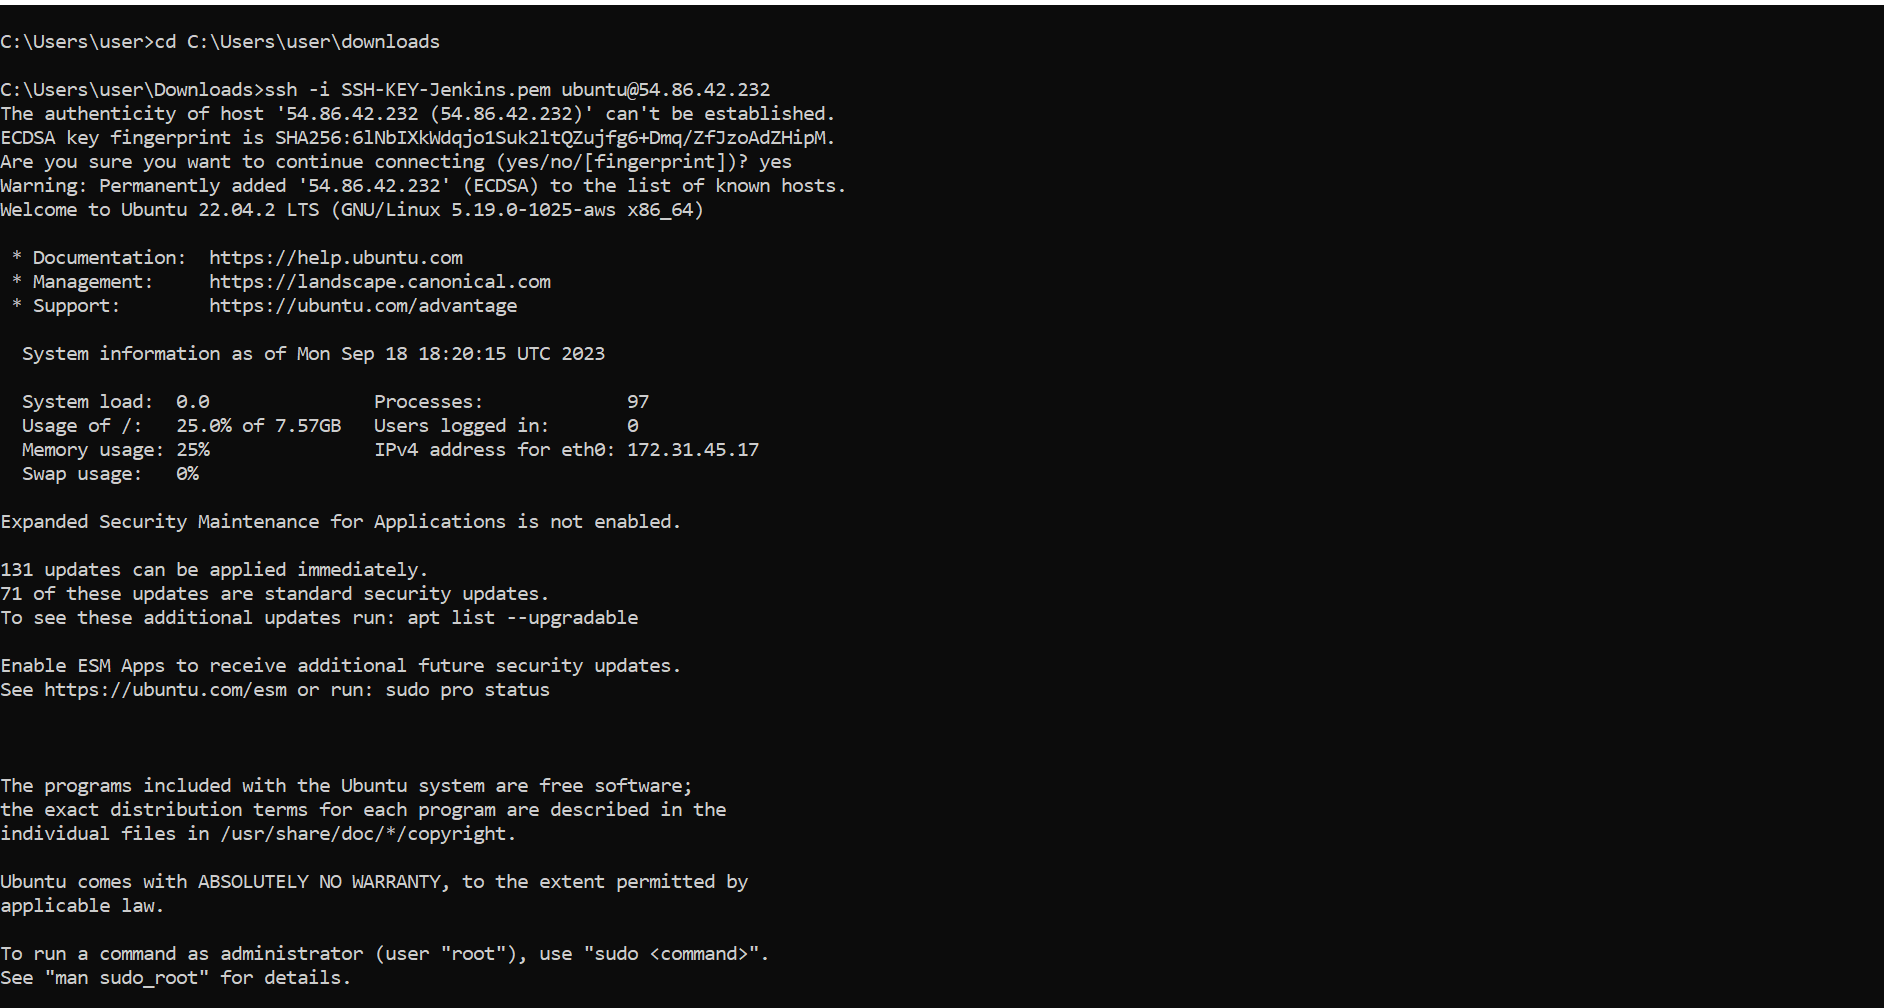
Update your instance using “sudo apt update”

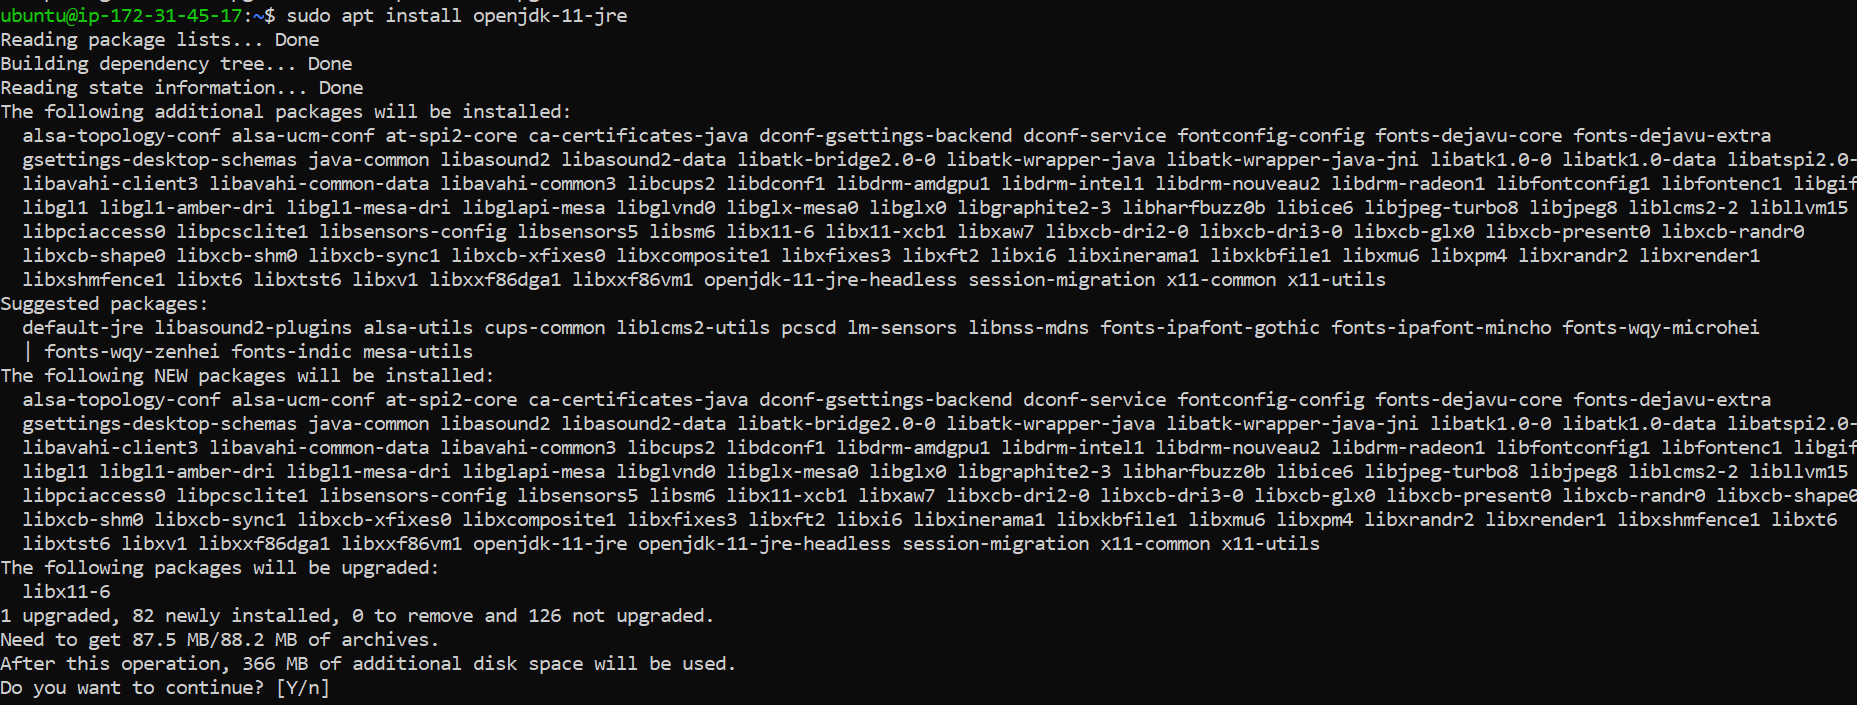
Install JavaRuntime Environment in the instance by using “sudo apt install openjdk-11-jre”
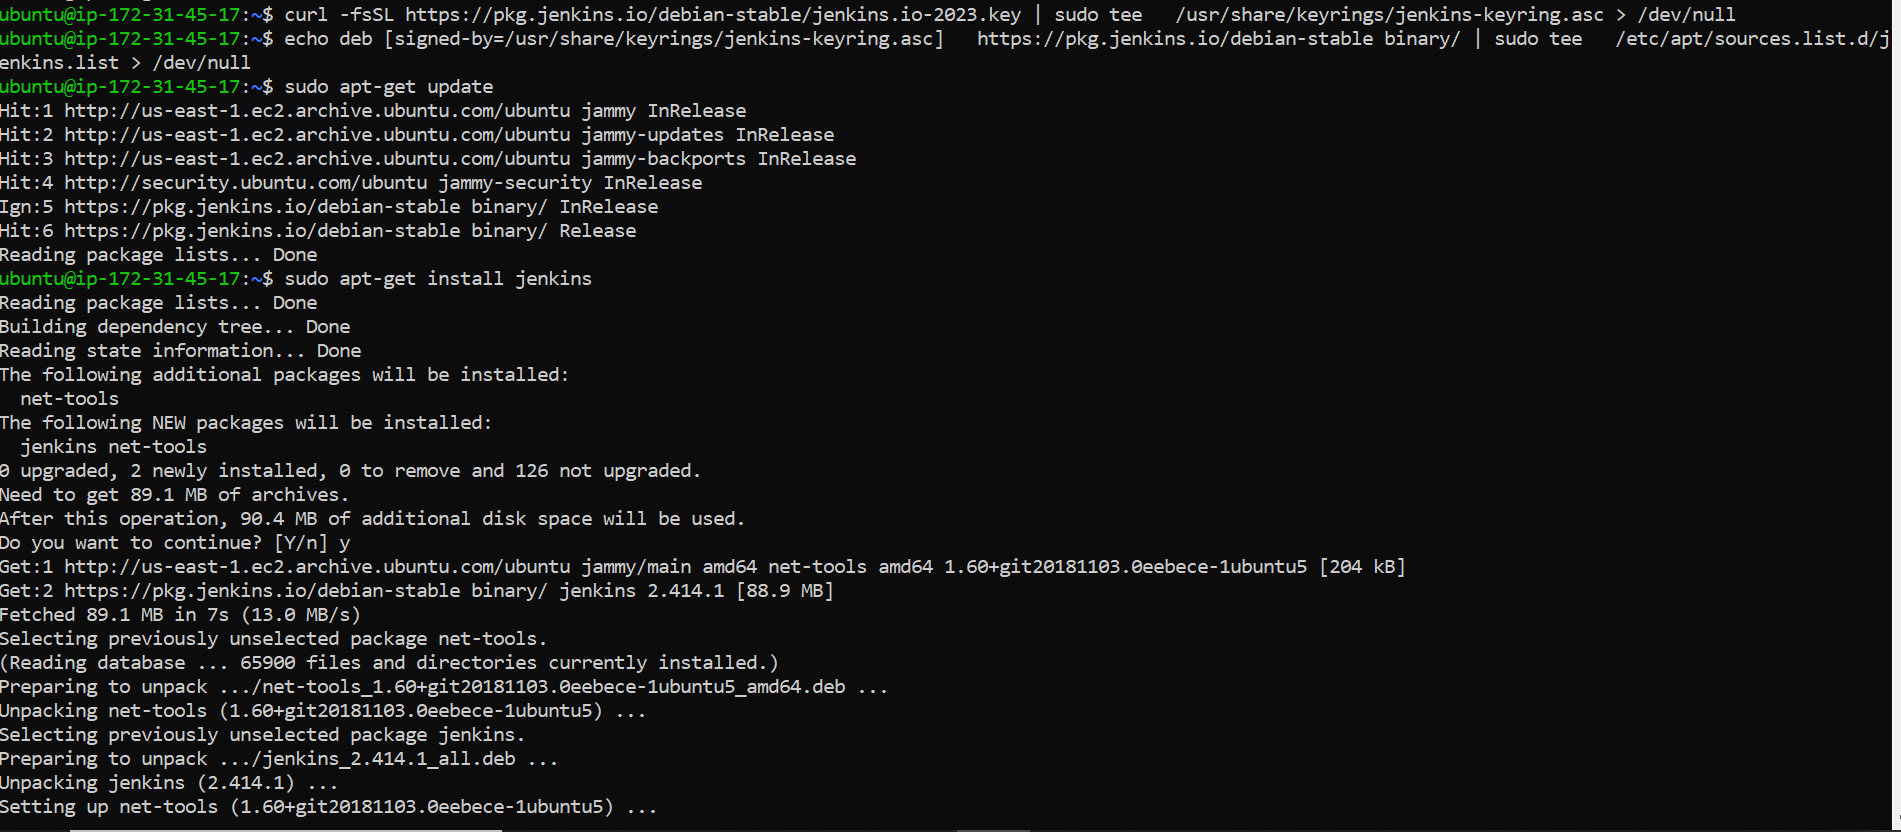
Navigate to the website Jenkins Site and click on Installing Jenkins under Documentation
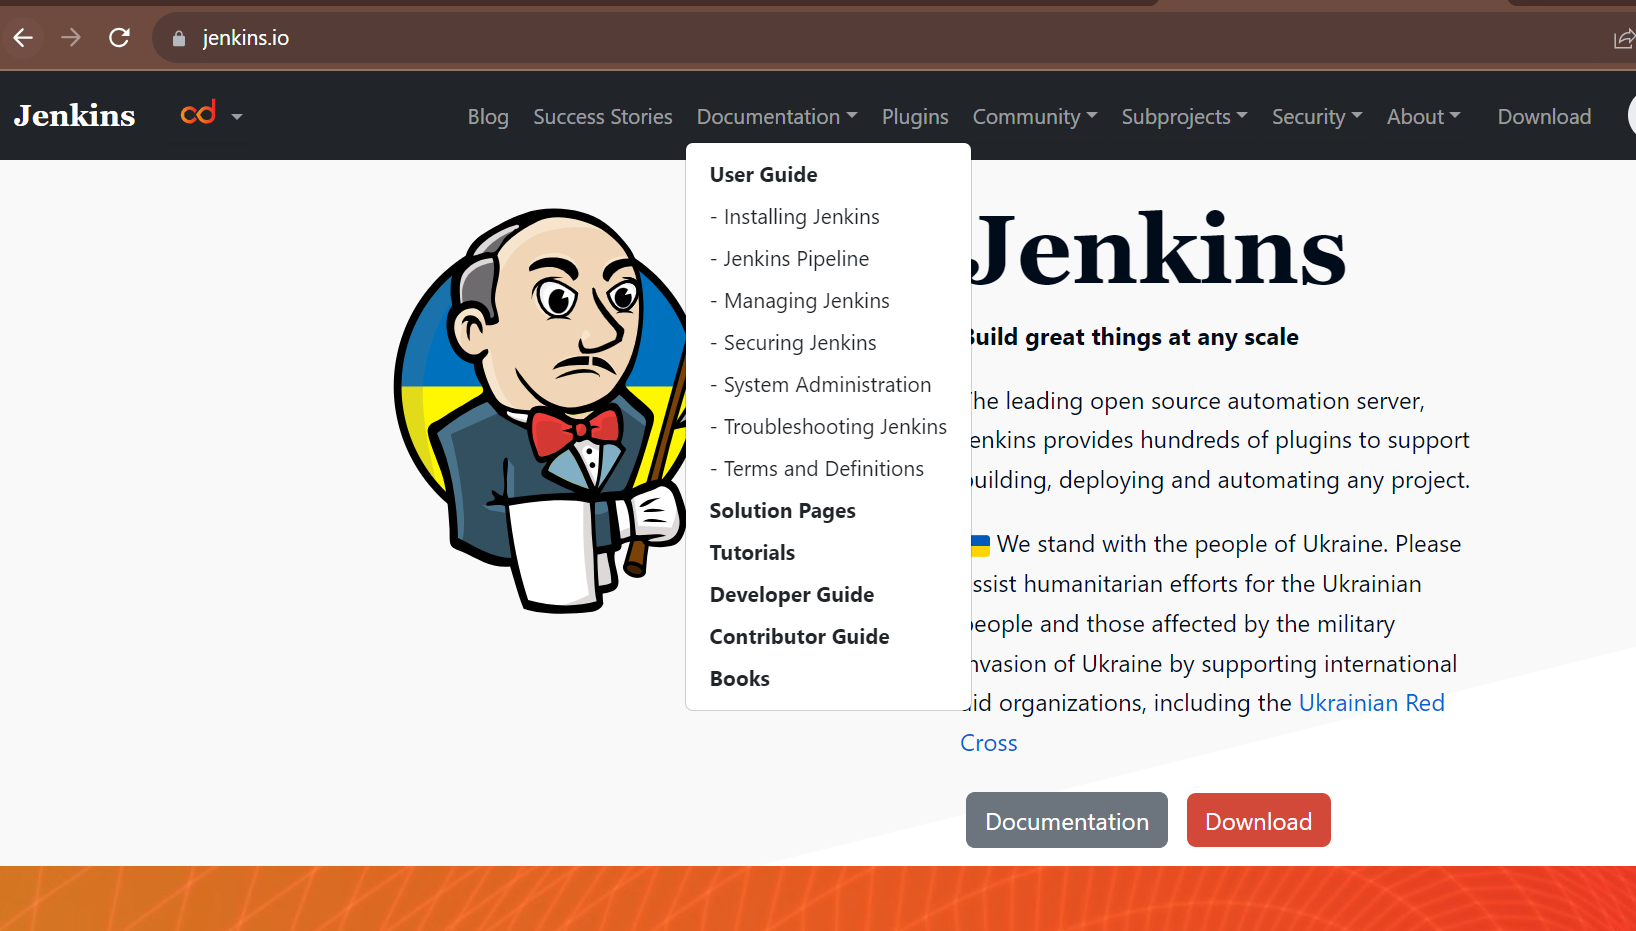
Choose your operating system and copy the command
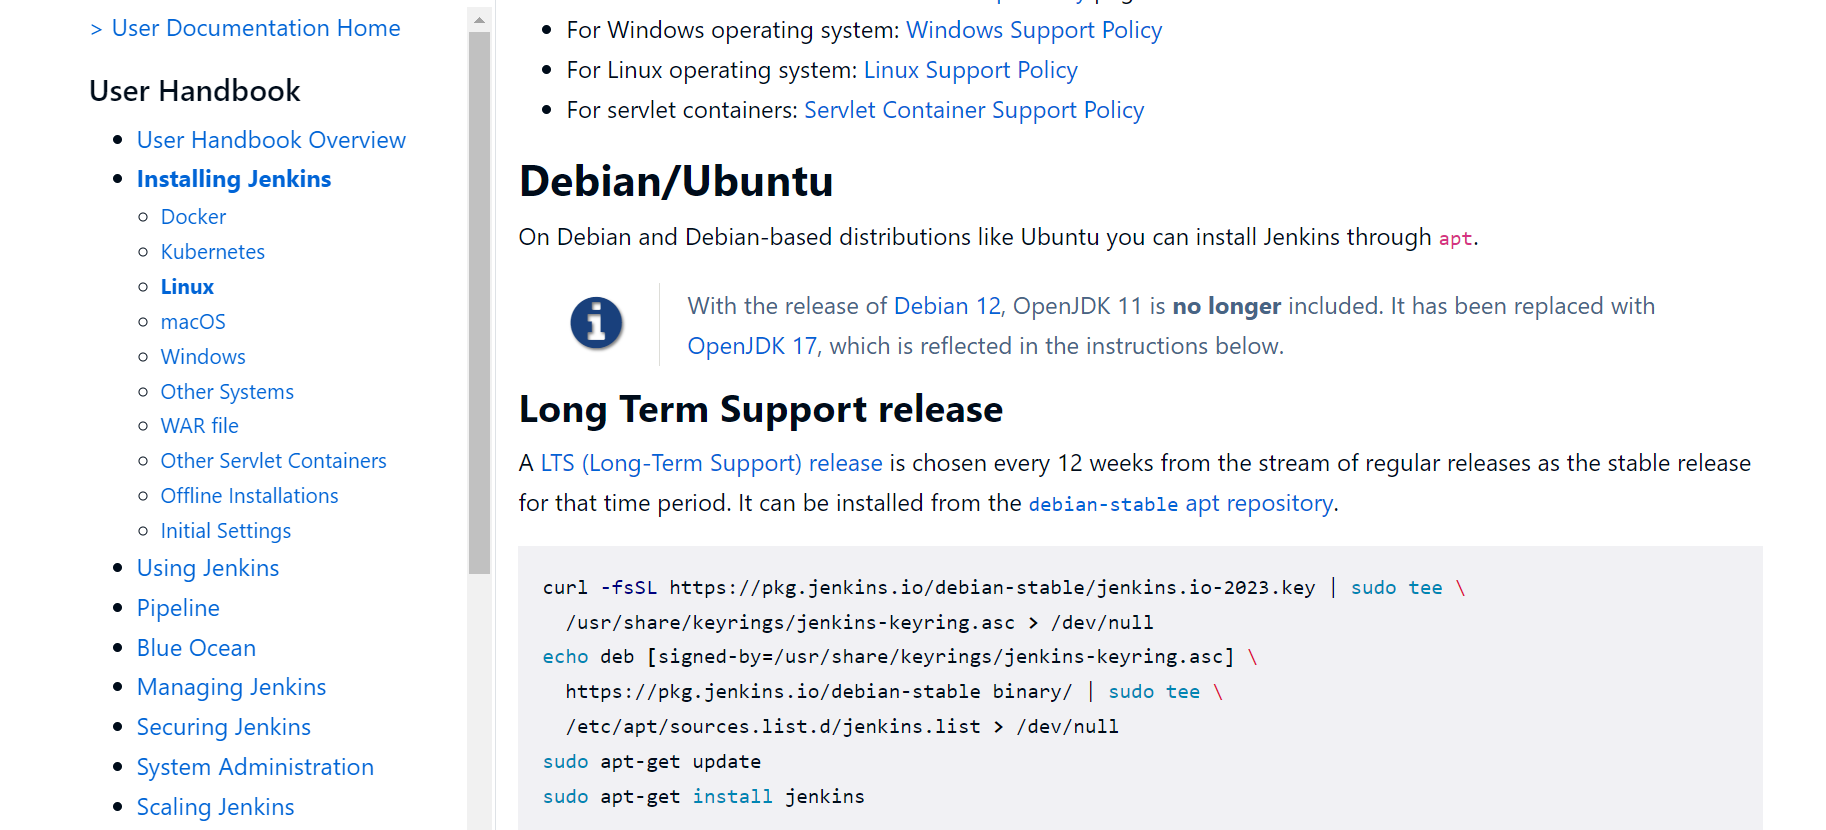
Navigate back to the ssh instance and copy the command to the terminal. This installs Jenkins to the instance
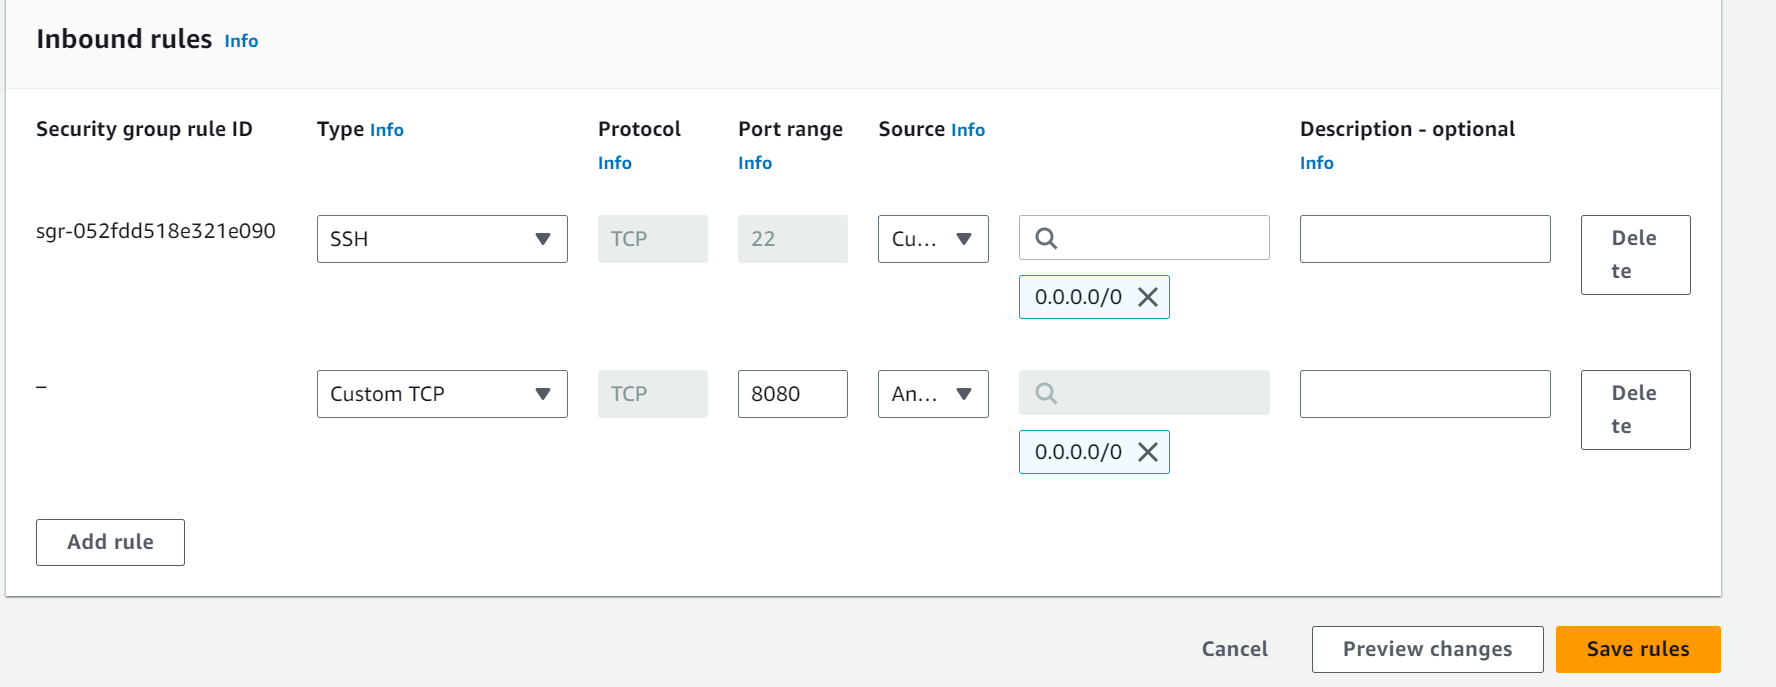
Navigate back to the aws console, in your instance under security click the security group rules so as to edit the inbound rules to allow for port 80

Add a new rule that allows for inbound from anywhere through port 8080 and save rule

Use the command “systemctl status jenkins” to verify the installation of Jenkins.

On running status, navigate to the instance, copy its public ip and paste it in a new browser and access Jenkins through port 8080

When prompted for password use “sudo cat /var/lib/jenkins/secrets/initialAdminPassword” to access your default passowrd.
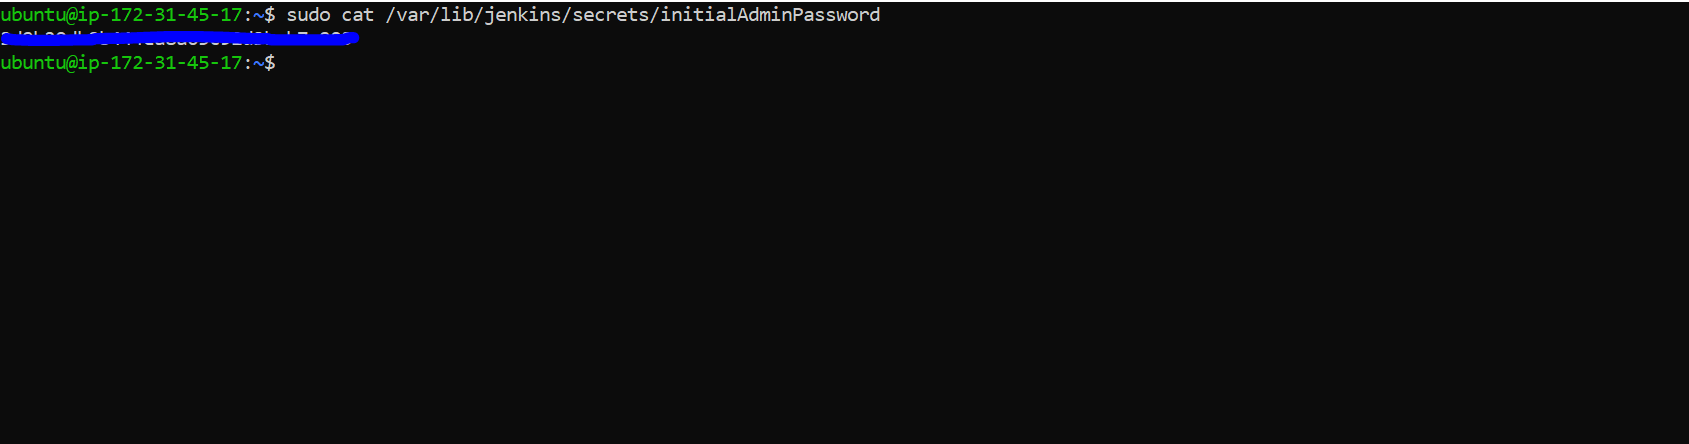
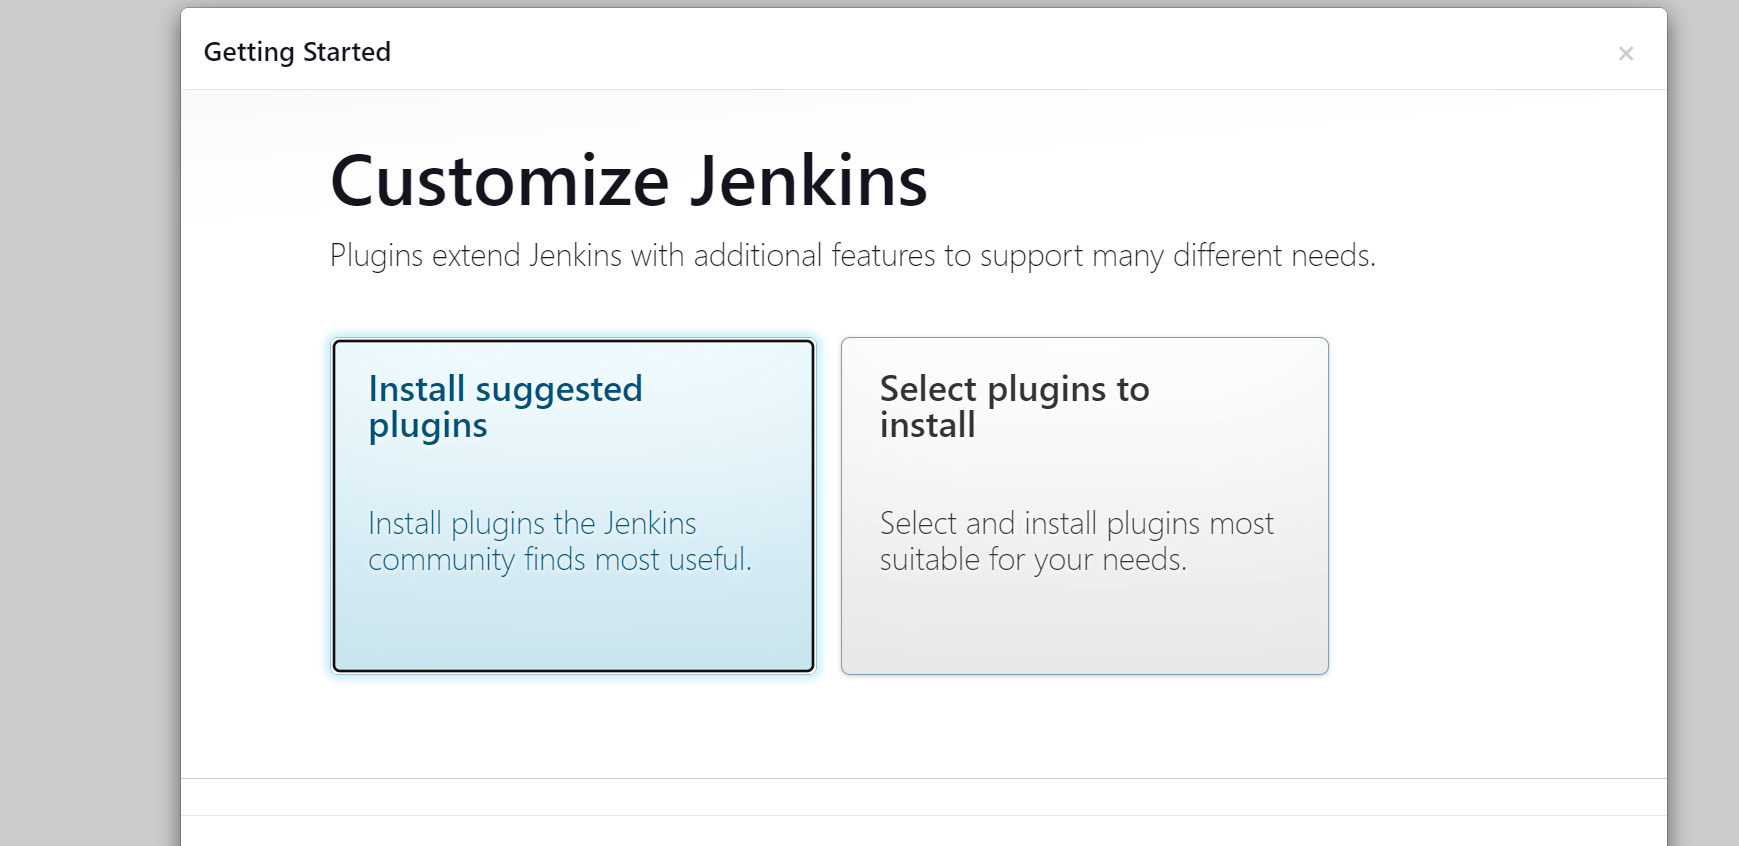
Paste the password and click continue. Click on Install Suggested plugins
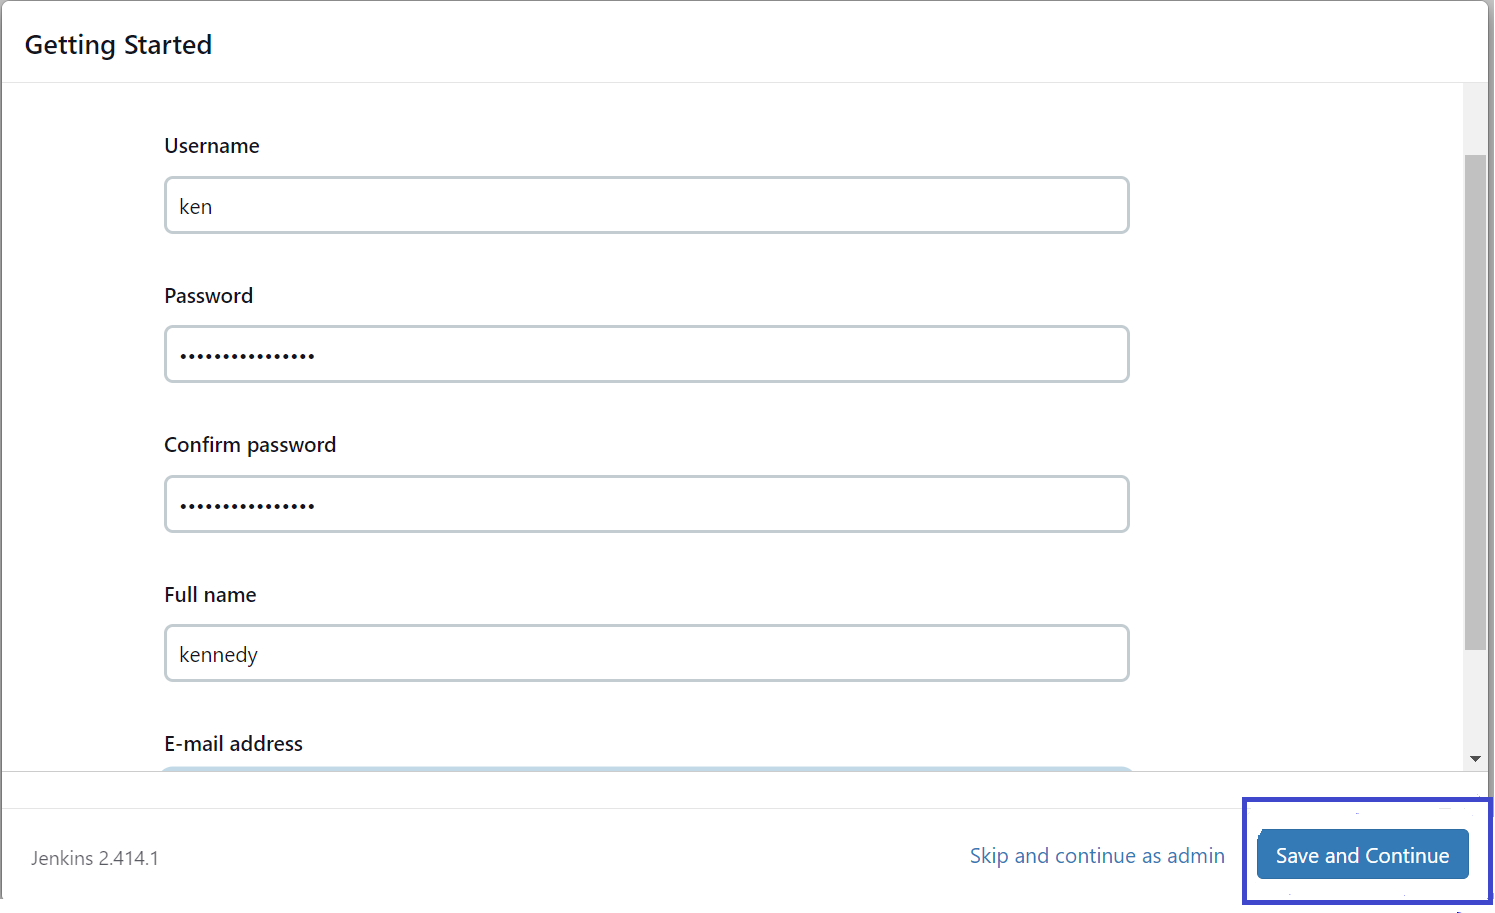
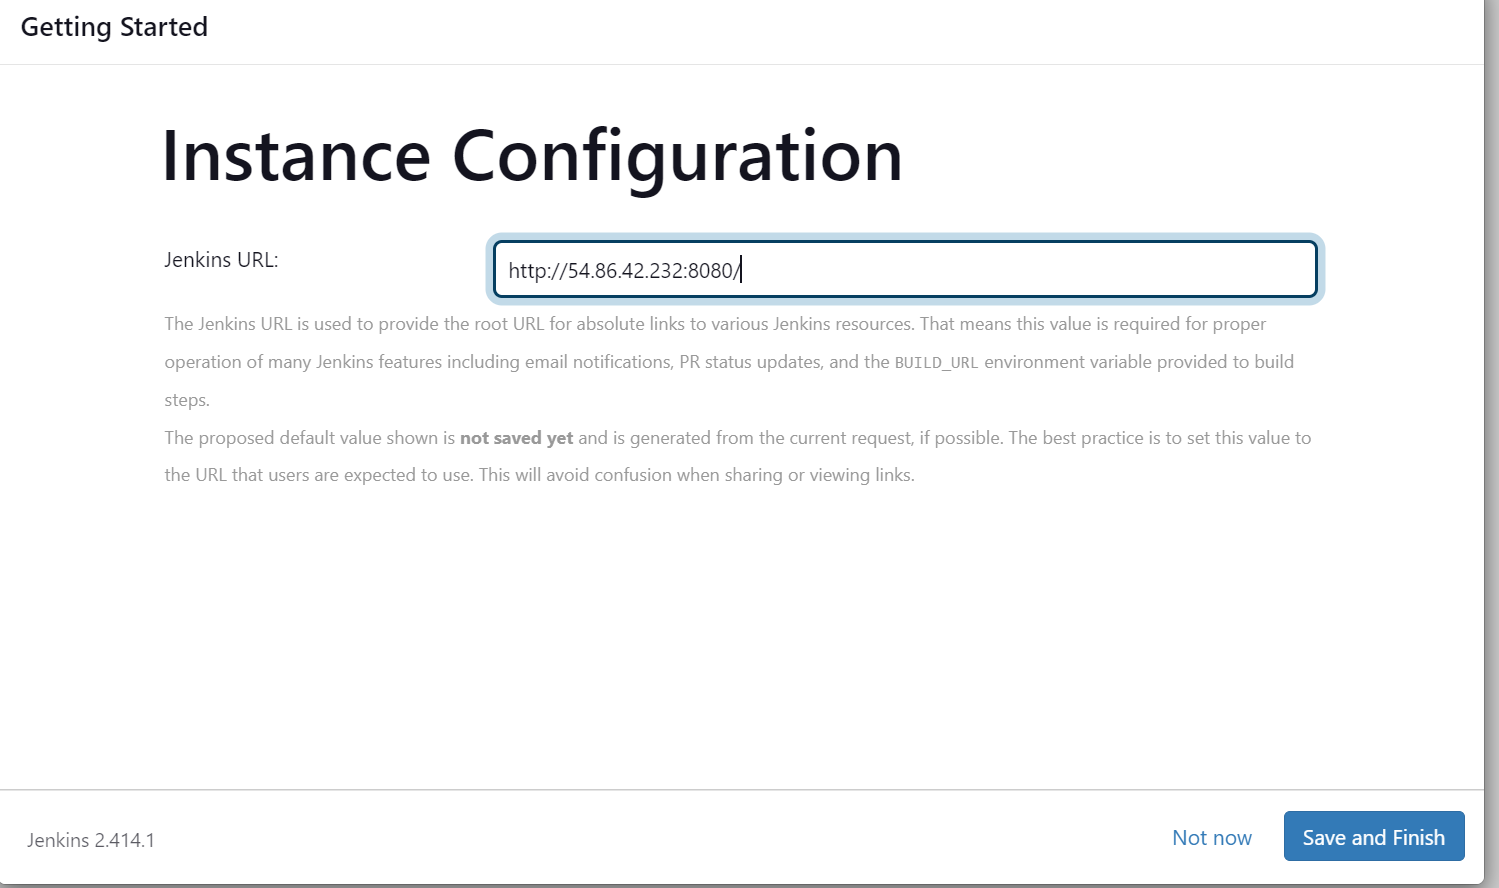
Create a user and create a password then click on save and continue then finish.
USE JENKINS
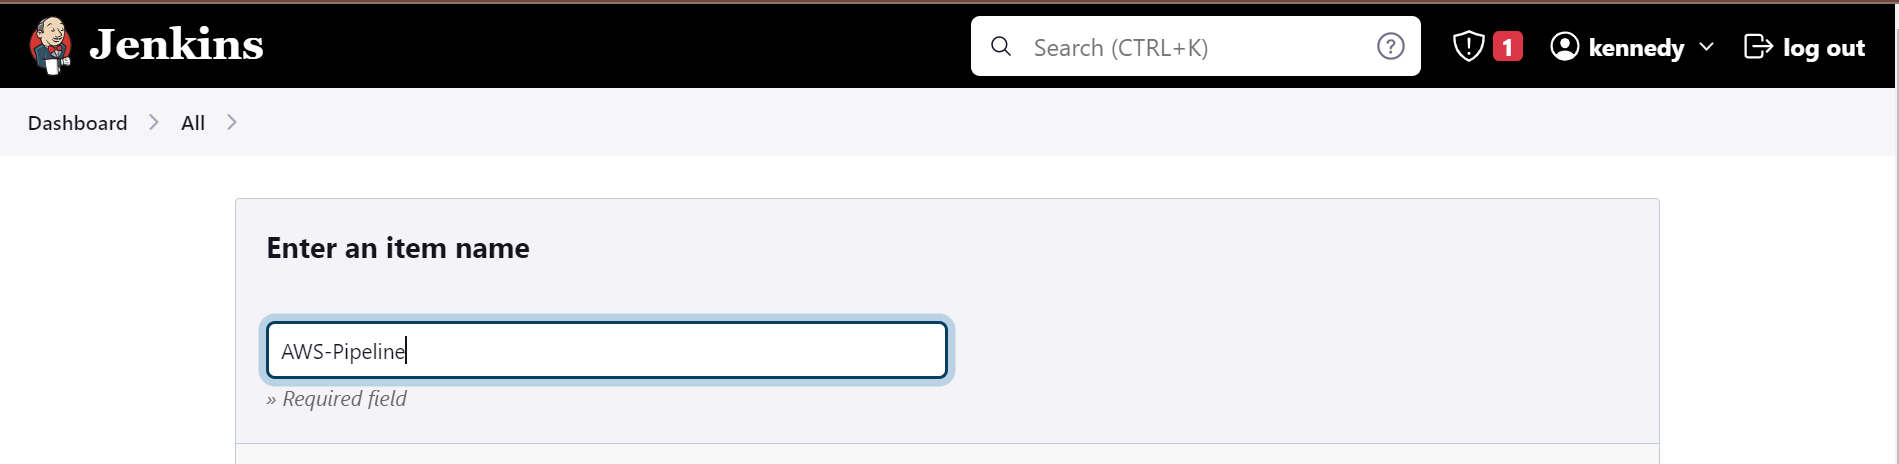
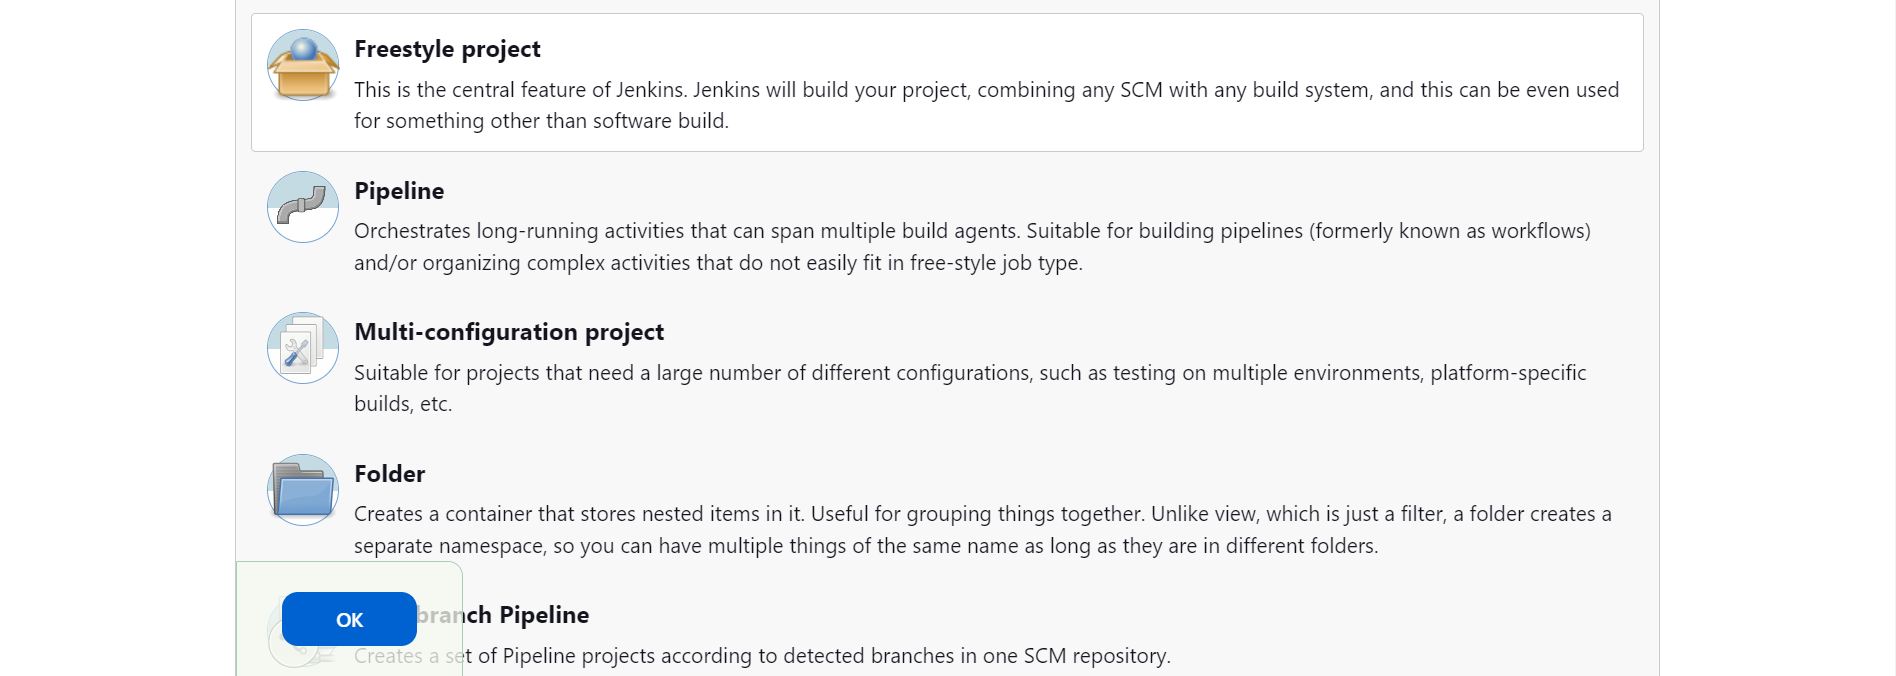
Create Pipieline by clicking on new item and give it a name
Select the project type then click OK
Navigate to “Source Code Management” and choose git

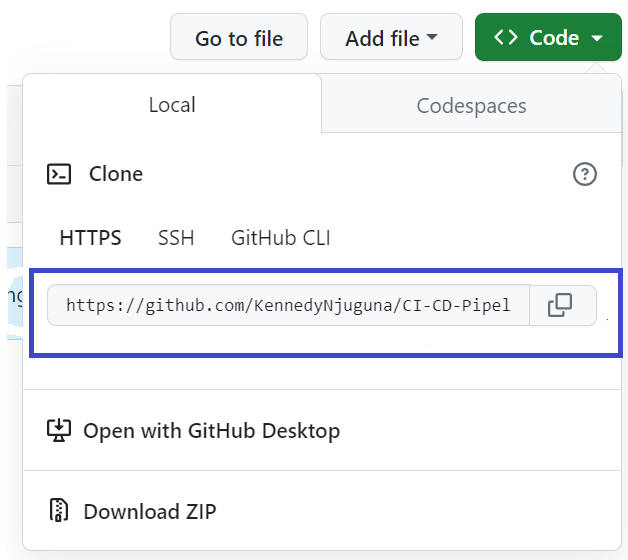
Copy the URL for the website repository from github under code,HTTPS and paste it under “Repository URL”
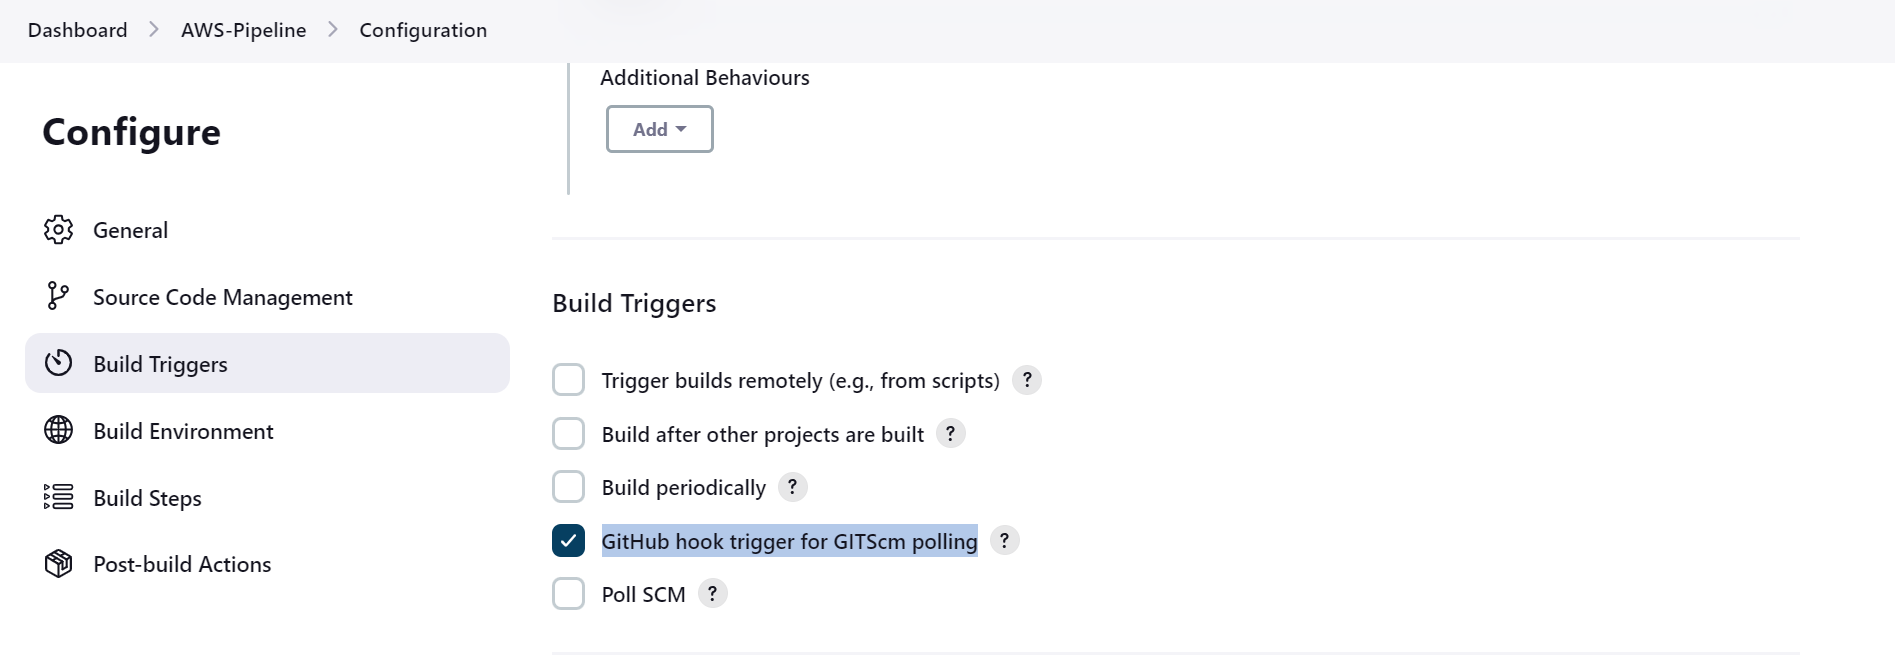
Enable the “GitHub hook trigger for GITScm polling” to trigger the pipeline automatically when changes are made to the repository
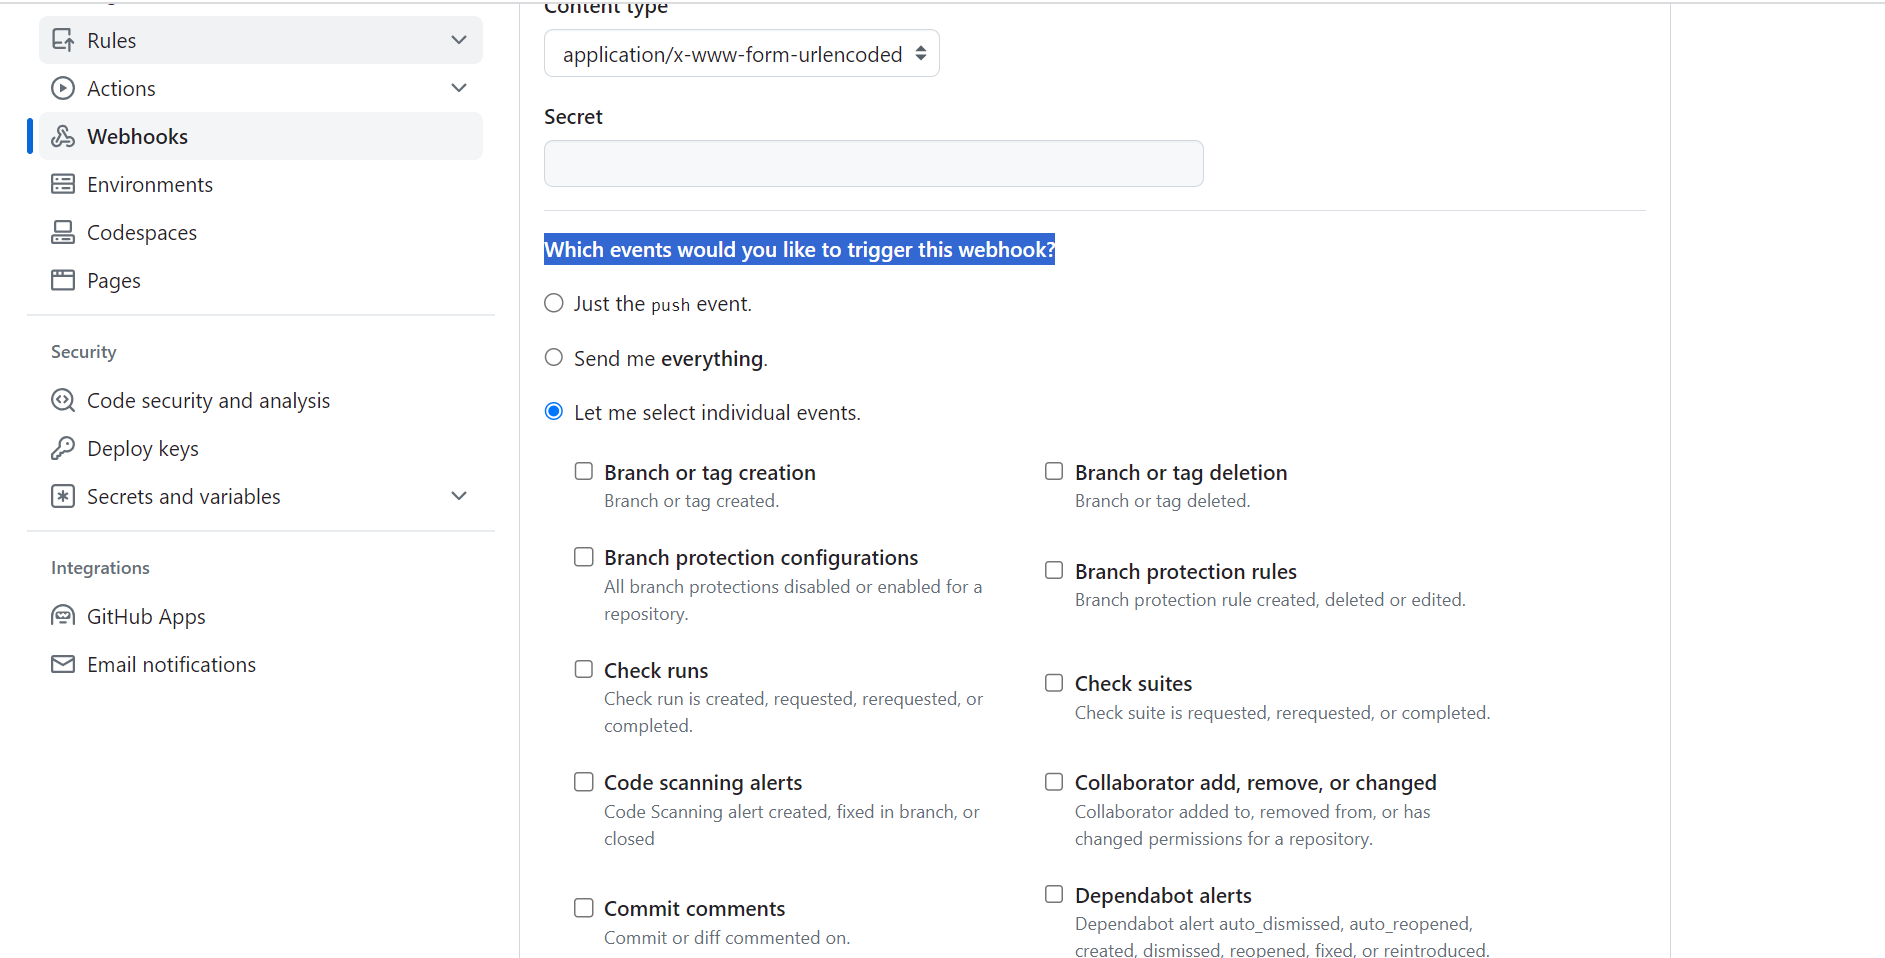
Navigate back to the Github Repo Settings and go to webhook. Click “Add Webhook”

Copy the Jenkins URL and paste in under “Payload URL” adding “/github-webhook/”
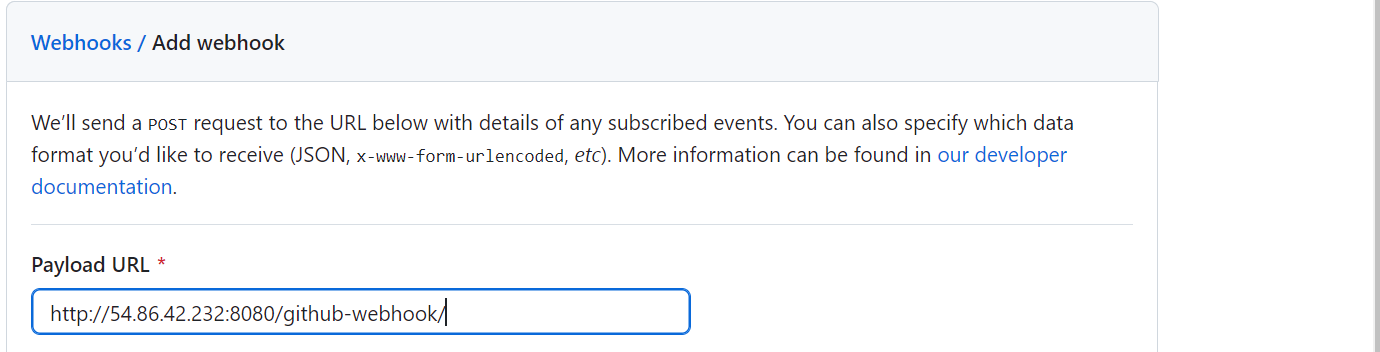
Ensure “Pull Request” and “Pushes” are ticked under “Which events would you like to trigger this webhook?”. Add Webhoook

WE HAVE AUTOMATED THE PROCESS WHEREBY WHEN A DEVELOPER CHANGES A CODE, JENKINS IS AUTOMATICALLY TRIGERED AND PULLS THE CODE FROM GITHUB
STEP THREE: CREATING A SERVER FOR THE SONARQUBE
Copy the Instance IP Address if the Sonarqube Instance and SSH into the instance

Install Java JRE 11

Navigate to SonarQube website. Click on the download version of your choice and copy the link. Navigate to the terminal and use the wget command and paste the link to download SonarQube

As the file is in the .zip format Install UnZip app

Unzip the file and navigate to the sonarqube folder


In the SonarQube folder go to the bin subfolder then depending on your OS go to your folder either macos, windows or linux

Execute the batch file in the folder (sonar.sh)

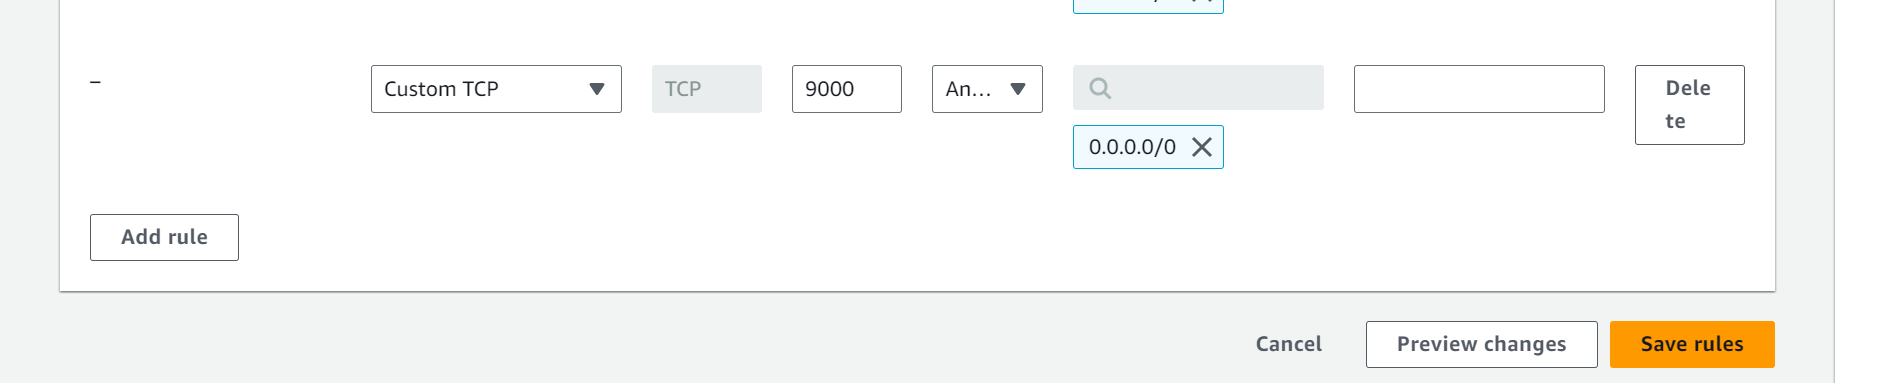
Navigate back to the aws console, in your instance under security click the security group rules so as to edit the inbound rules to allow for port 9000
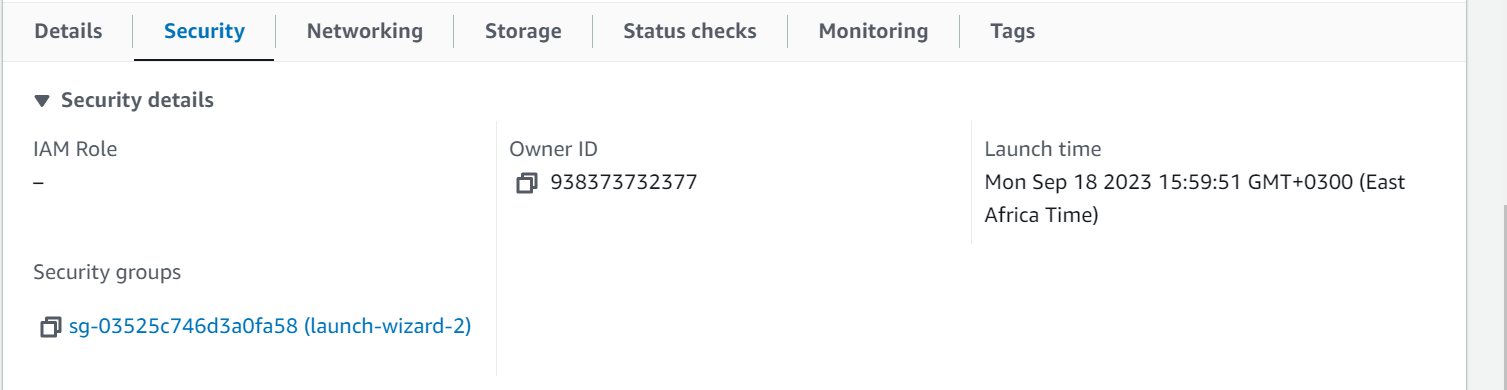
Add a new rule that allows for inbound from anywhere through port 9000 and save rule

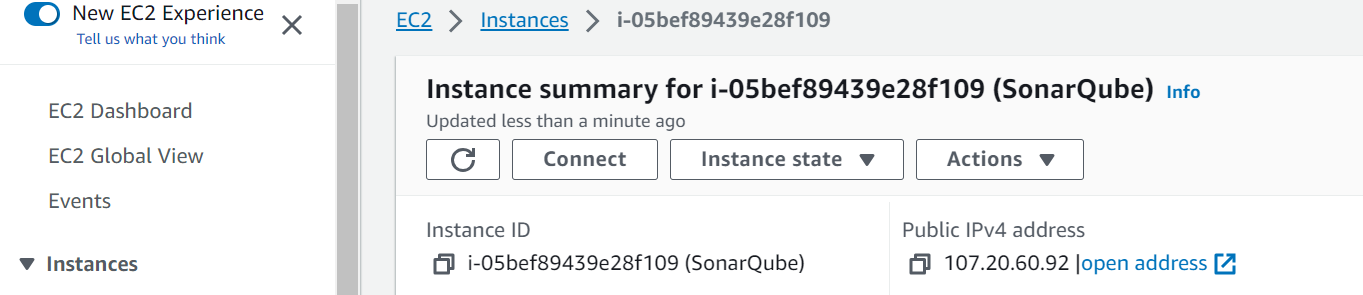
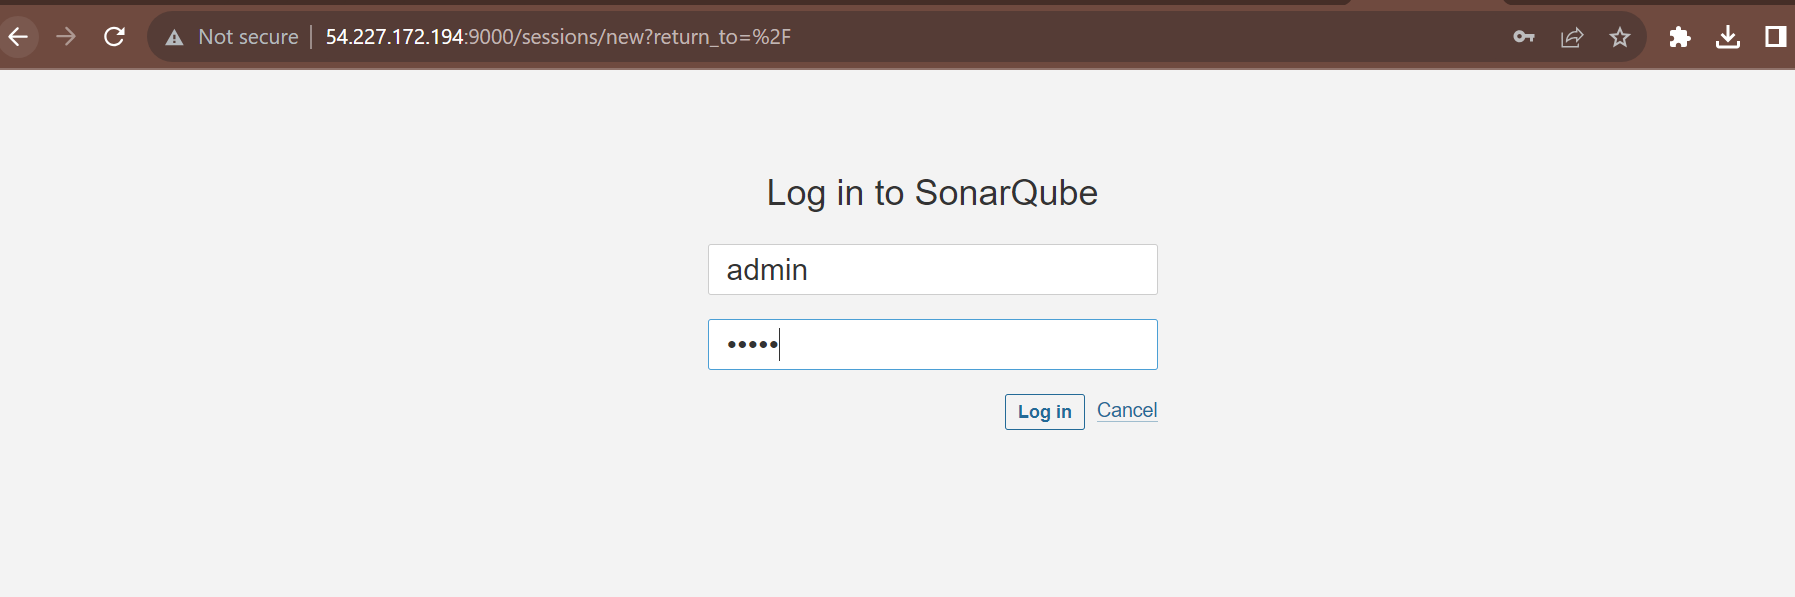
On operational status, navigate to the instance, copy its public ip and paste it in a new browser and access SonarQube through port 9000. Use admin as username and password to login. Update the password on the next prompt
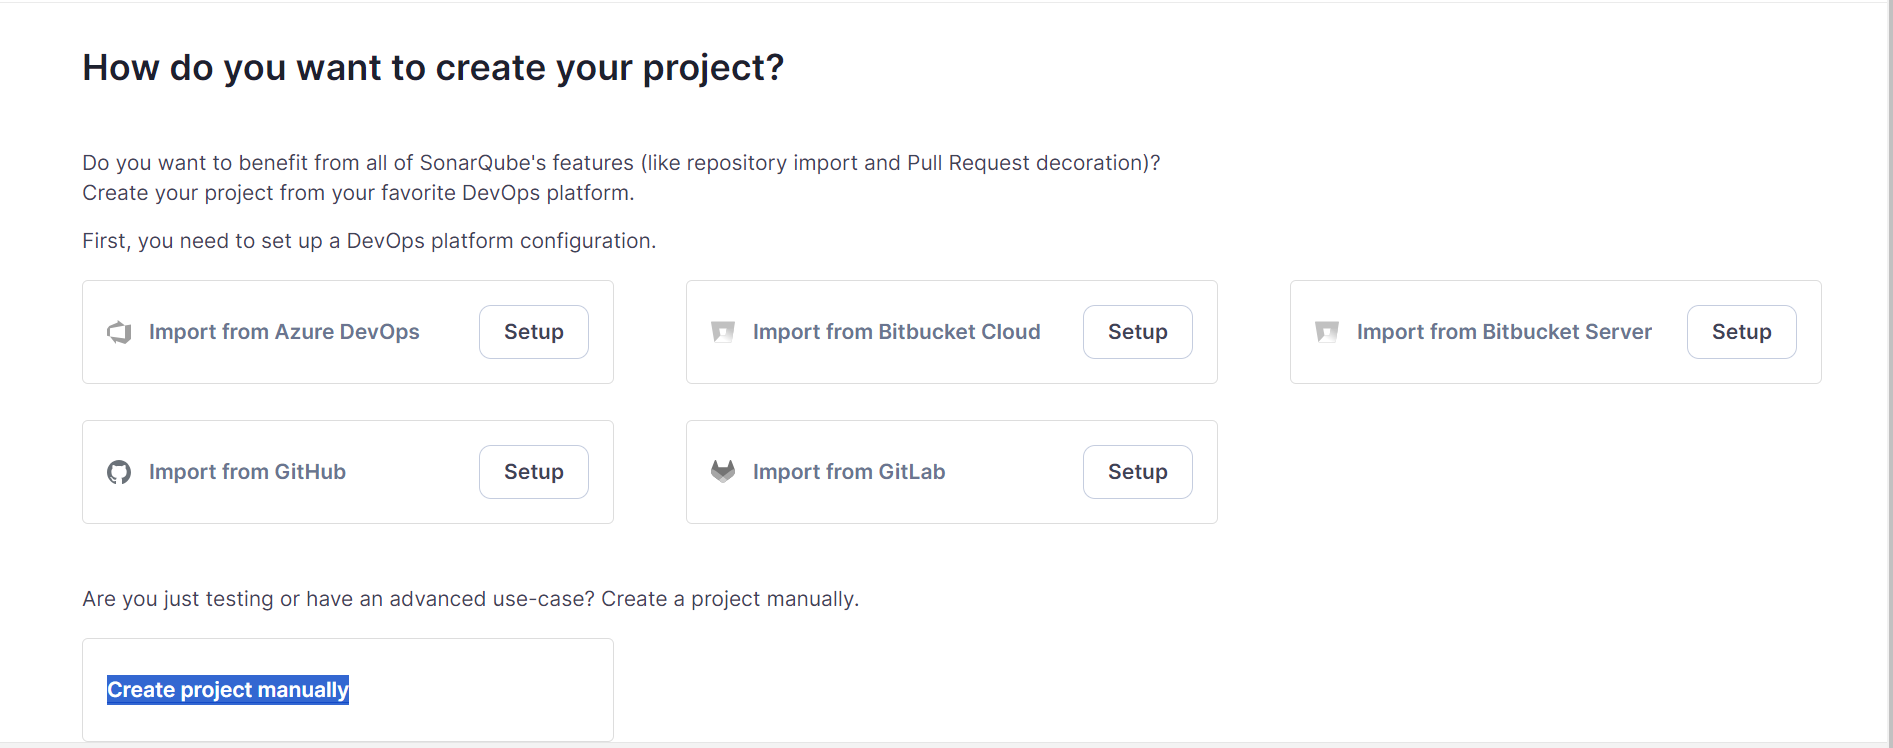
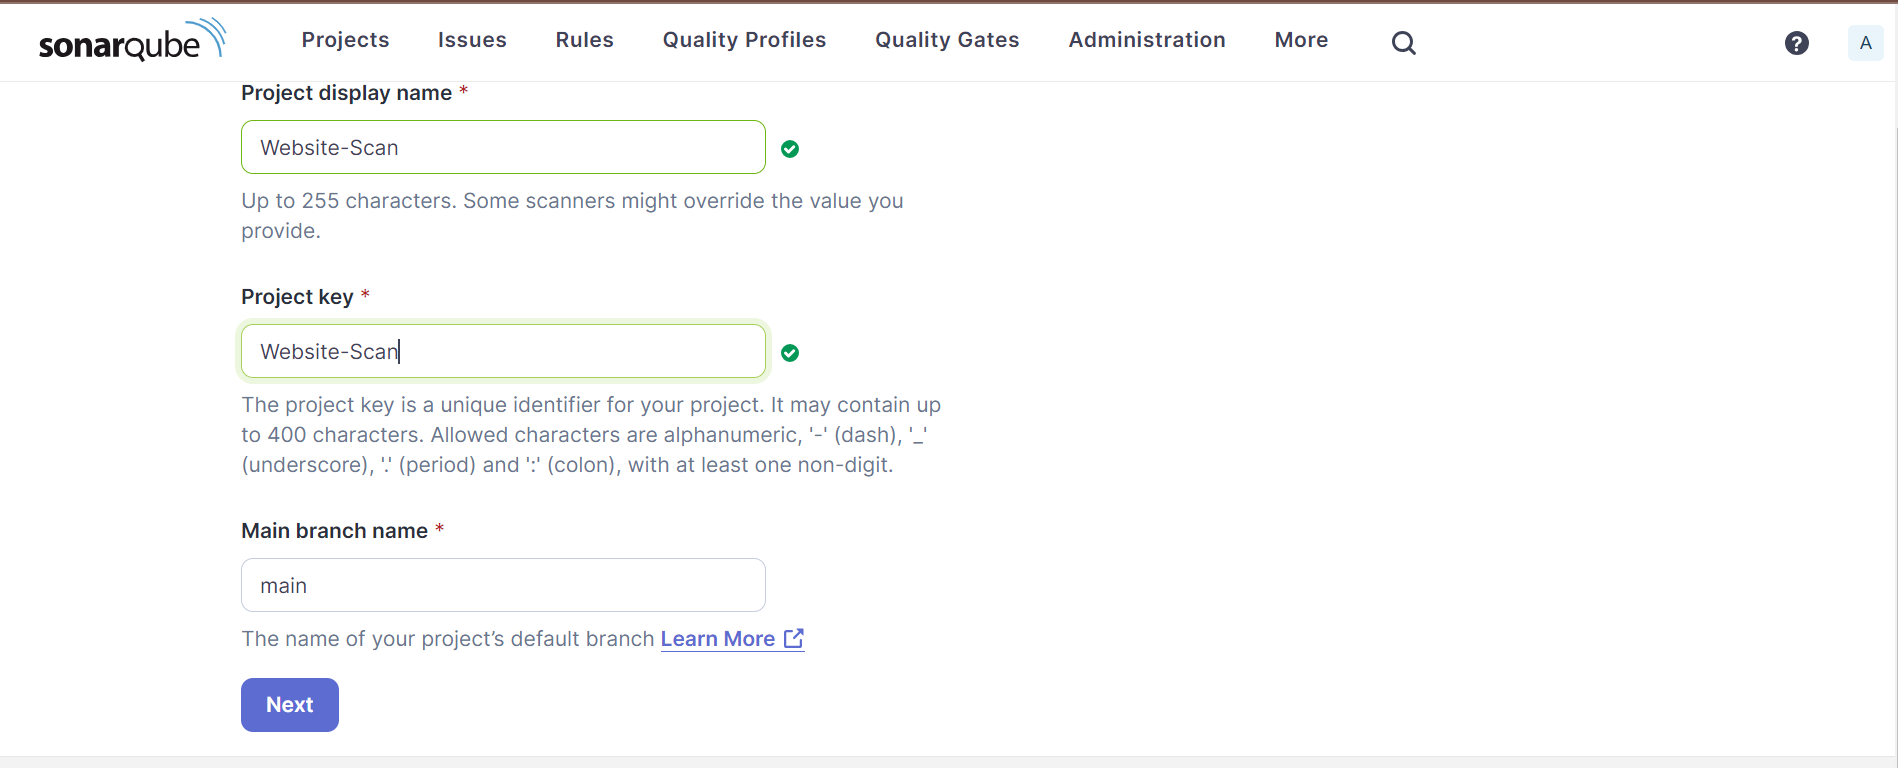
Click “Create project manually” and give a project name and key
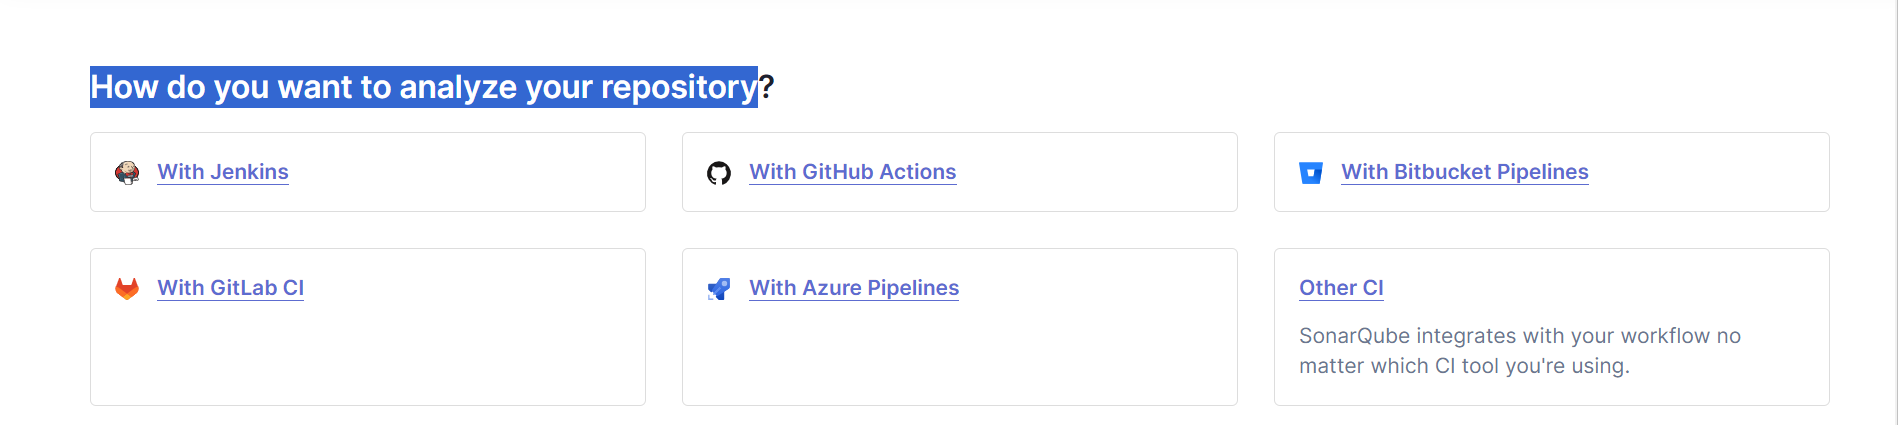
As our CI tools is Jenkins choose it as the “How do you want to analyze your repository” option and select your DevOps platform


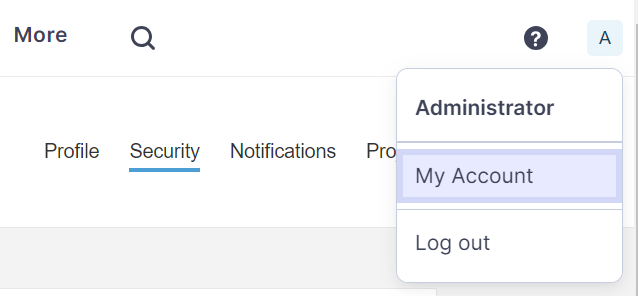
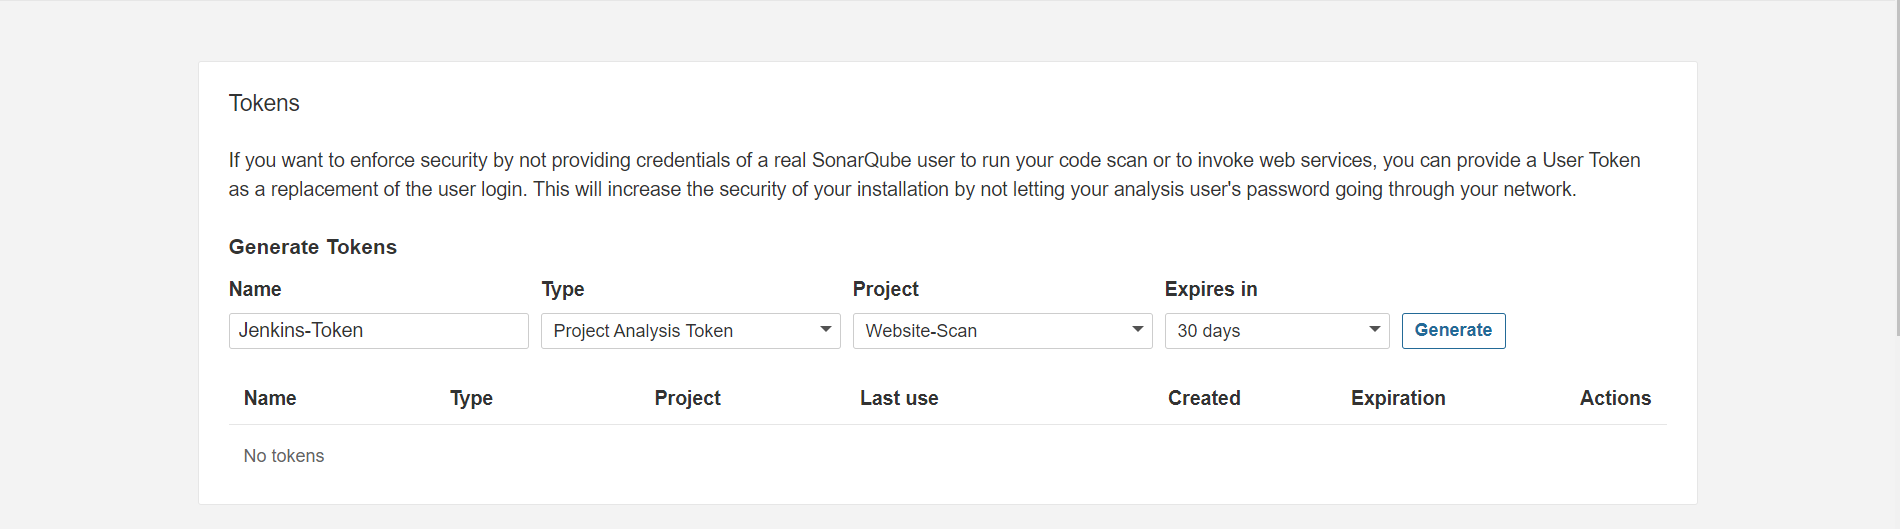
Navigate to the “My Account” option and click on “security”. Create a token
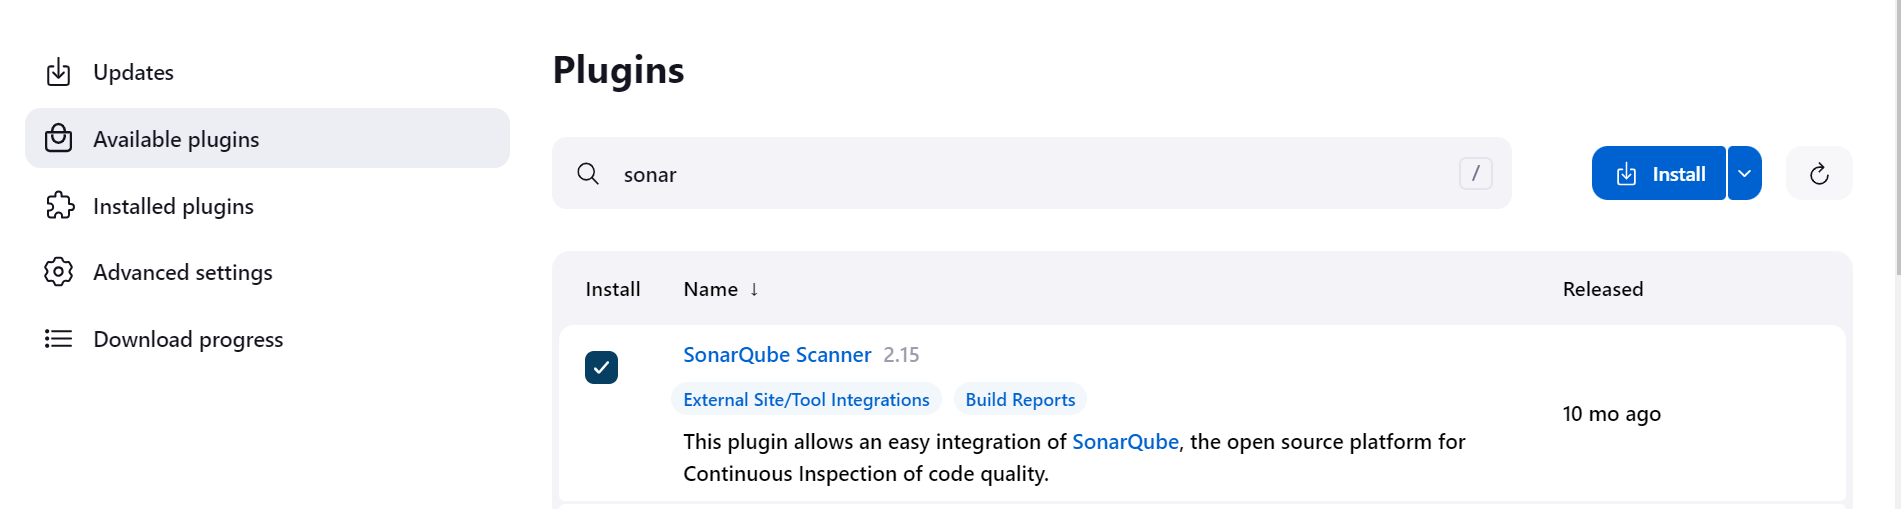
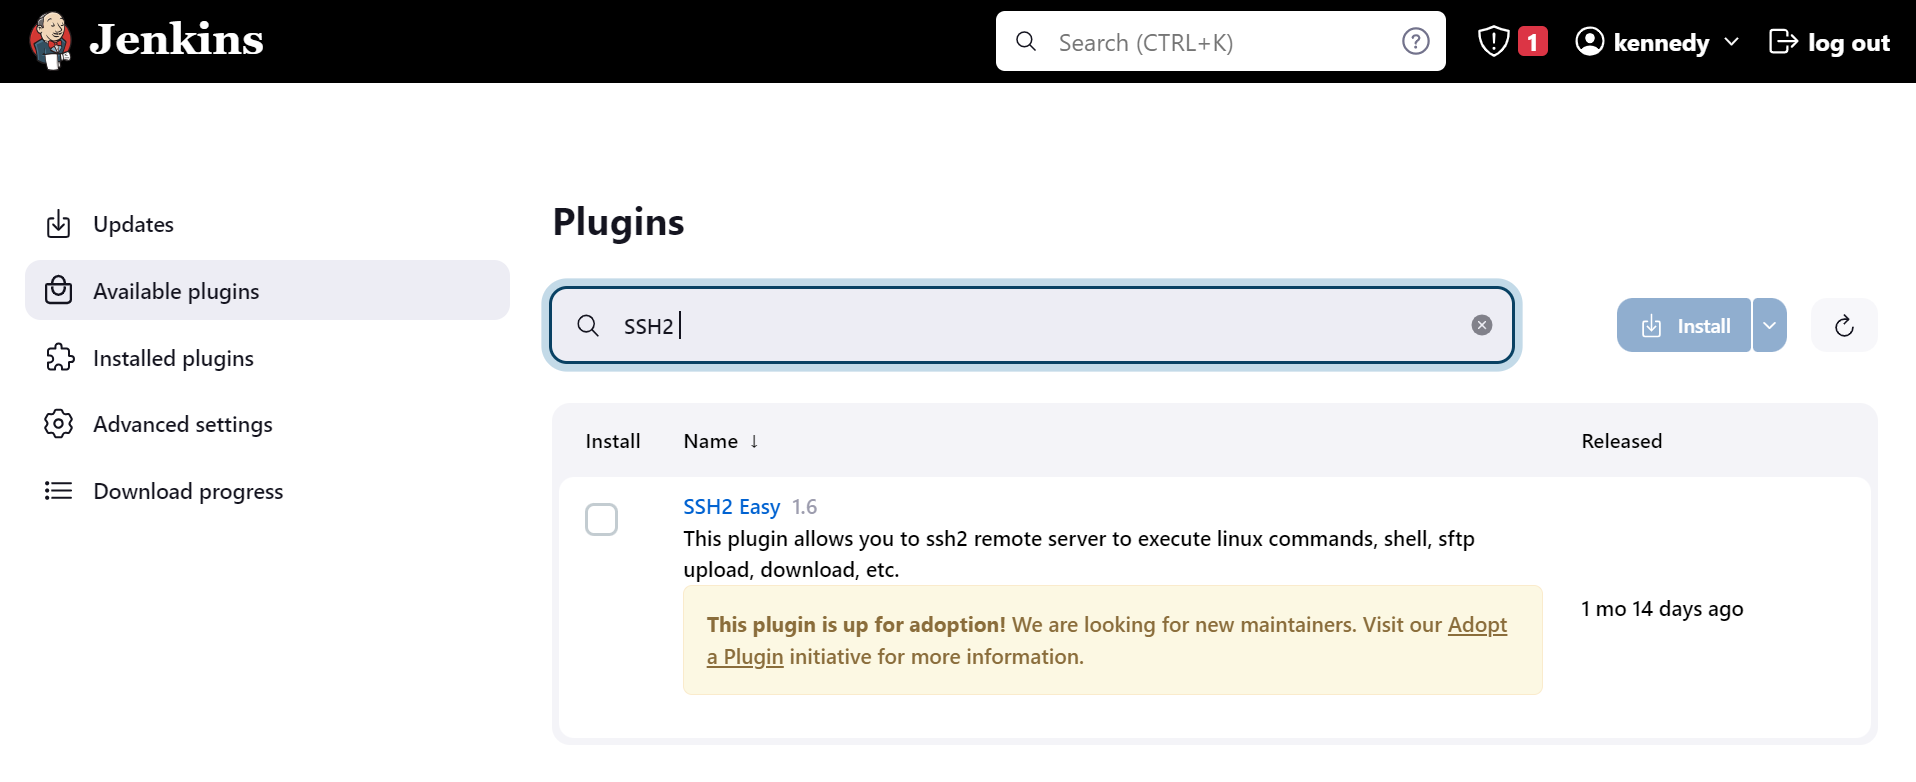
 Navigate back to the Jenkins website and click on “manage Jenkins” then click on “Plugins” to install plugins
Install “SonarQube Scanner” and “SSH2 Easy” Plugins
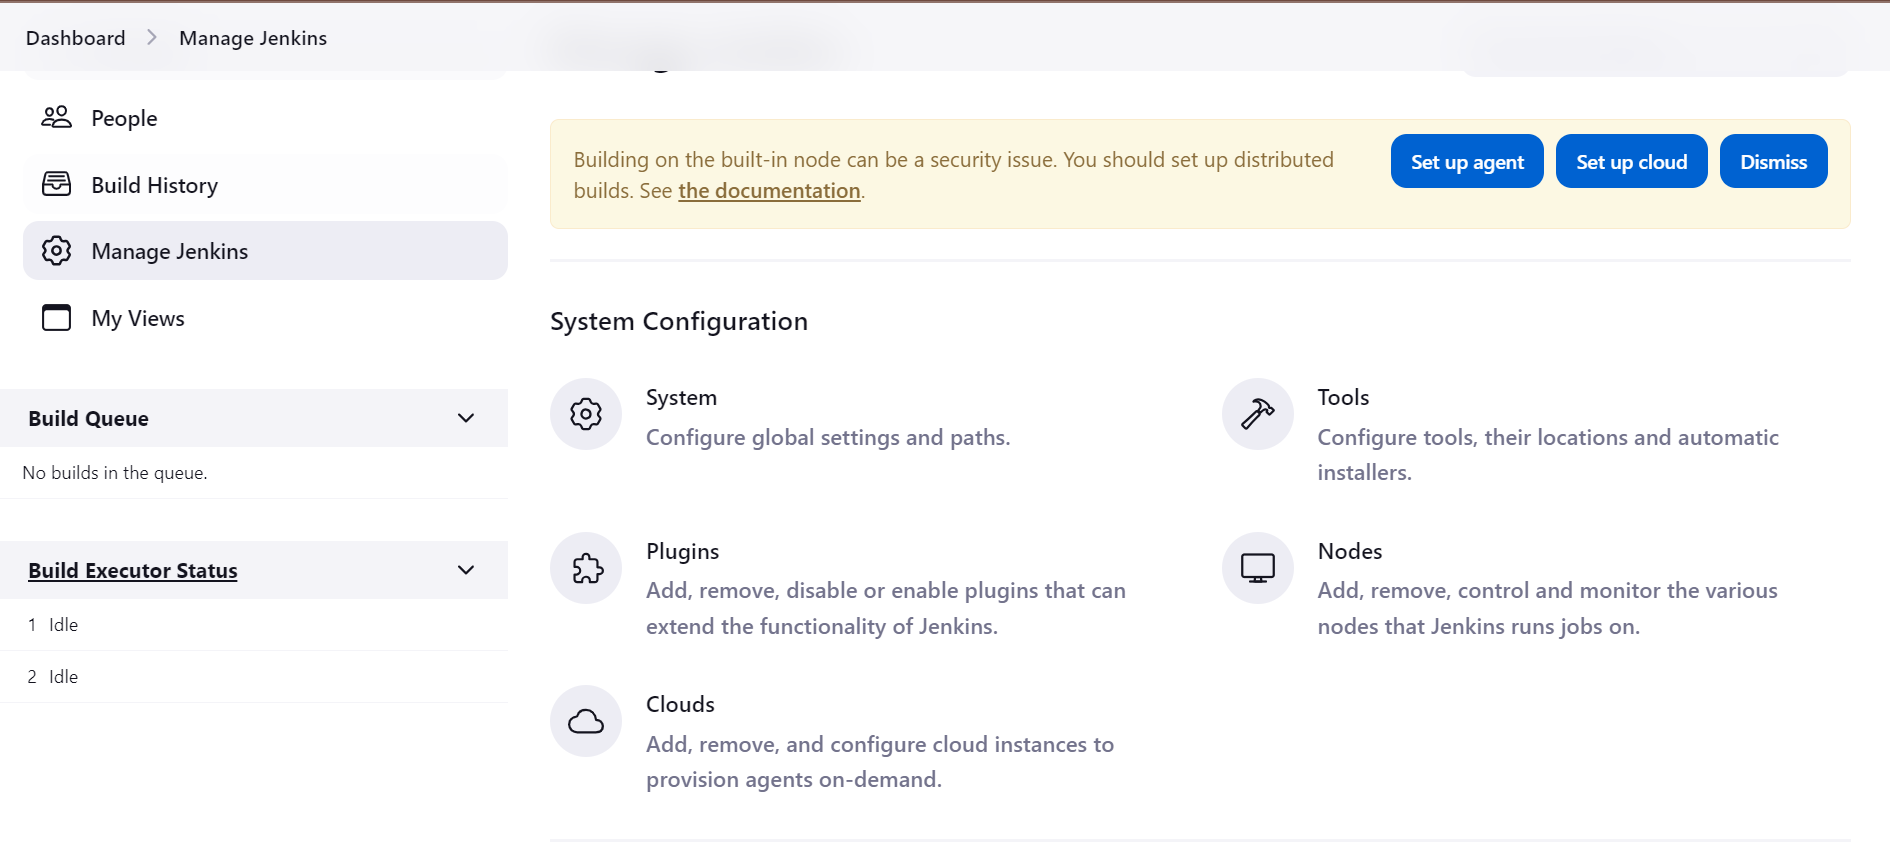
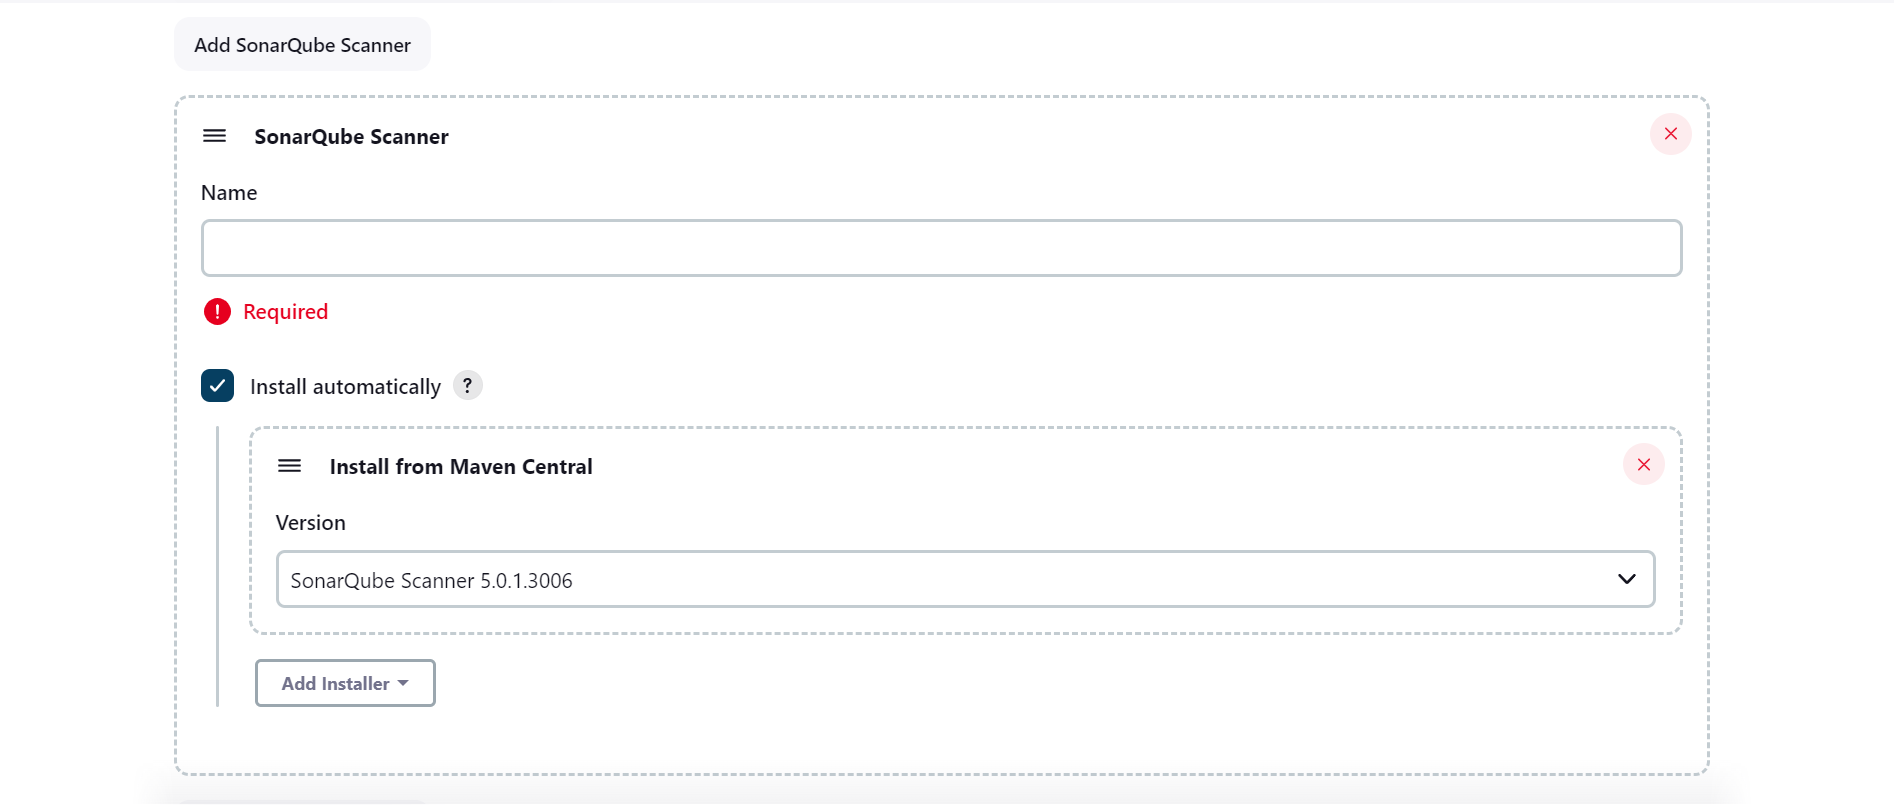
Navigate back to the Jenkins website and click on “manage Jenkins” then click on “Tools” and go to “Add SonarQube Scanner”
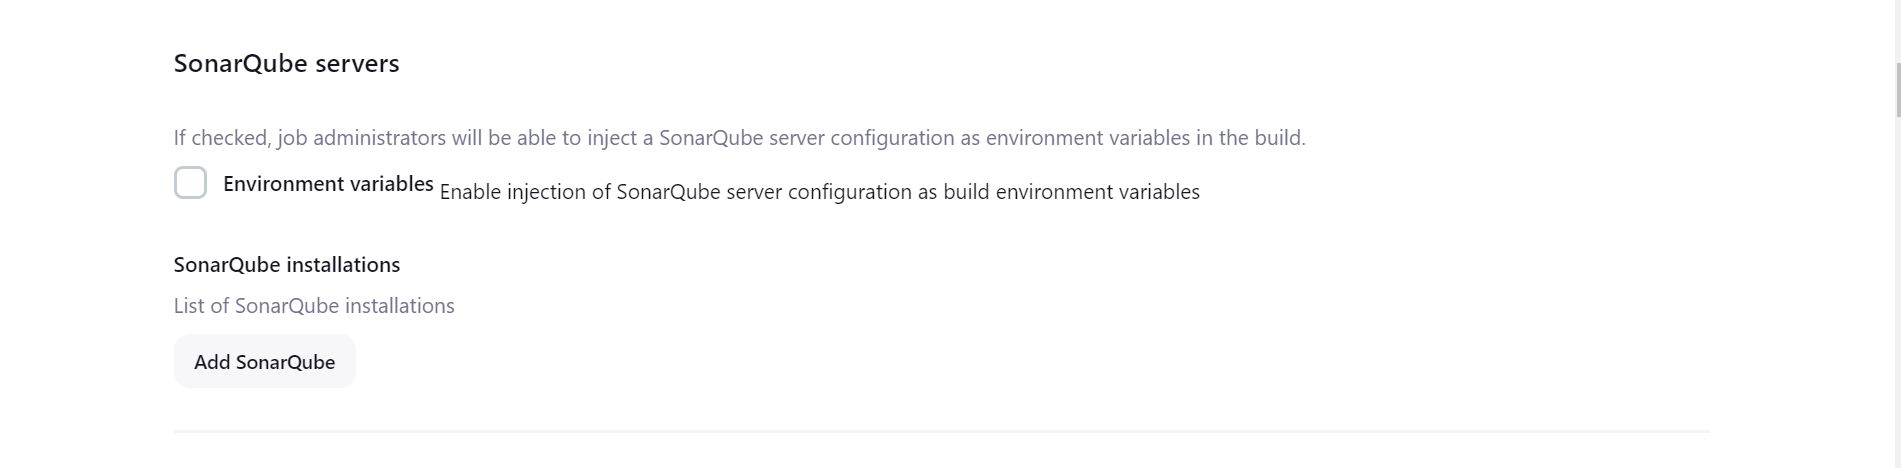
Navigate back to the Jenkins website and click on “manage Jenkins” then click on “System” and go to “SonarQube Servers” and ADD SonarQube. Make sure to copy the SonarQube URL to the server url option then save.
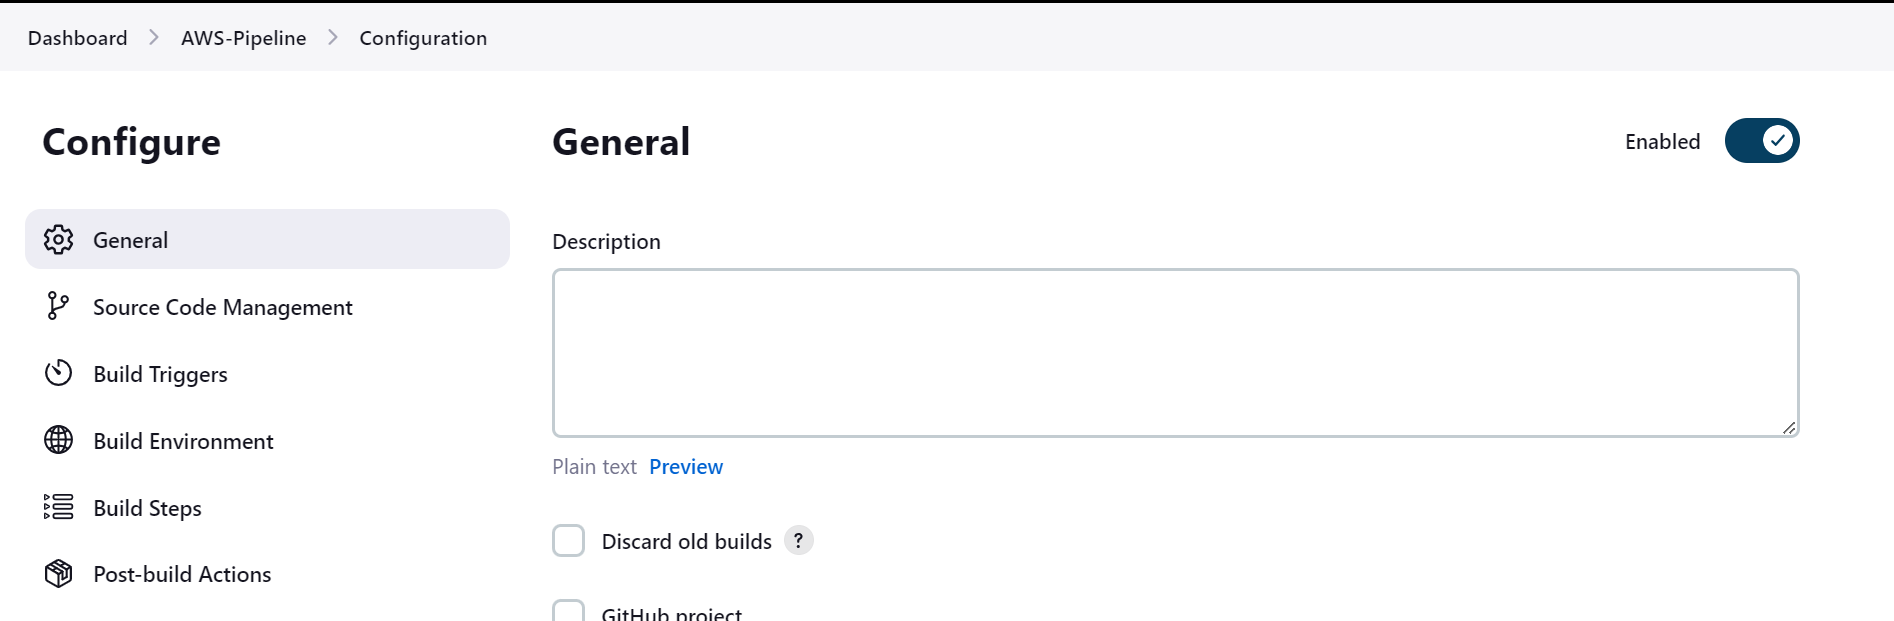
Navigate back to the Jenkins-pipeline you created and click on configure. Add a build step to execute the SonarQube Scanner and paste the key to the “Analysis properties”


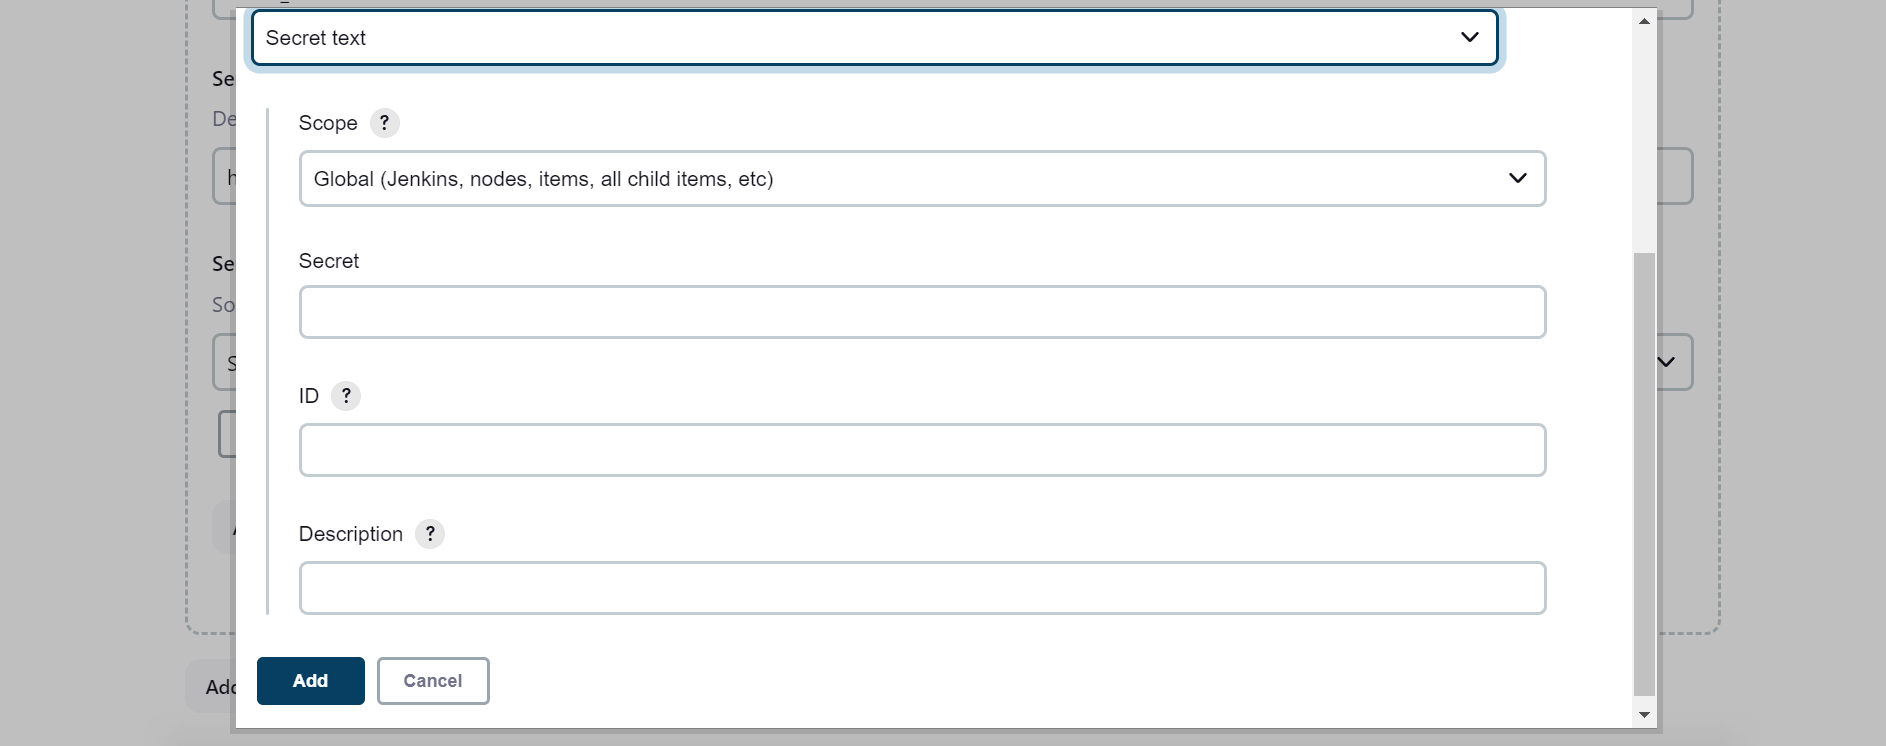
Navigate back to the Jenkins website and click on “manage Jenkins” then click on “System” so as to add the token we created and paste the token and give it an ID and save it. Now select the token and click on save.

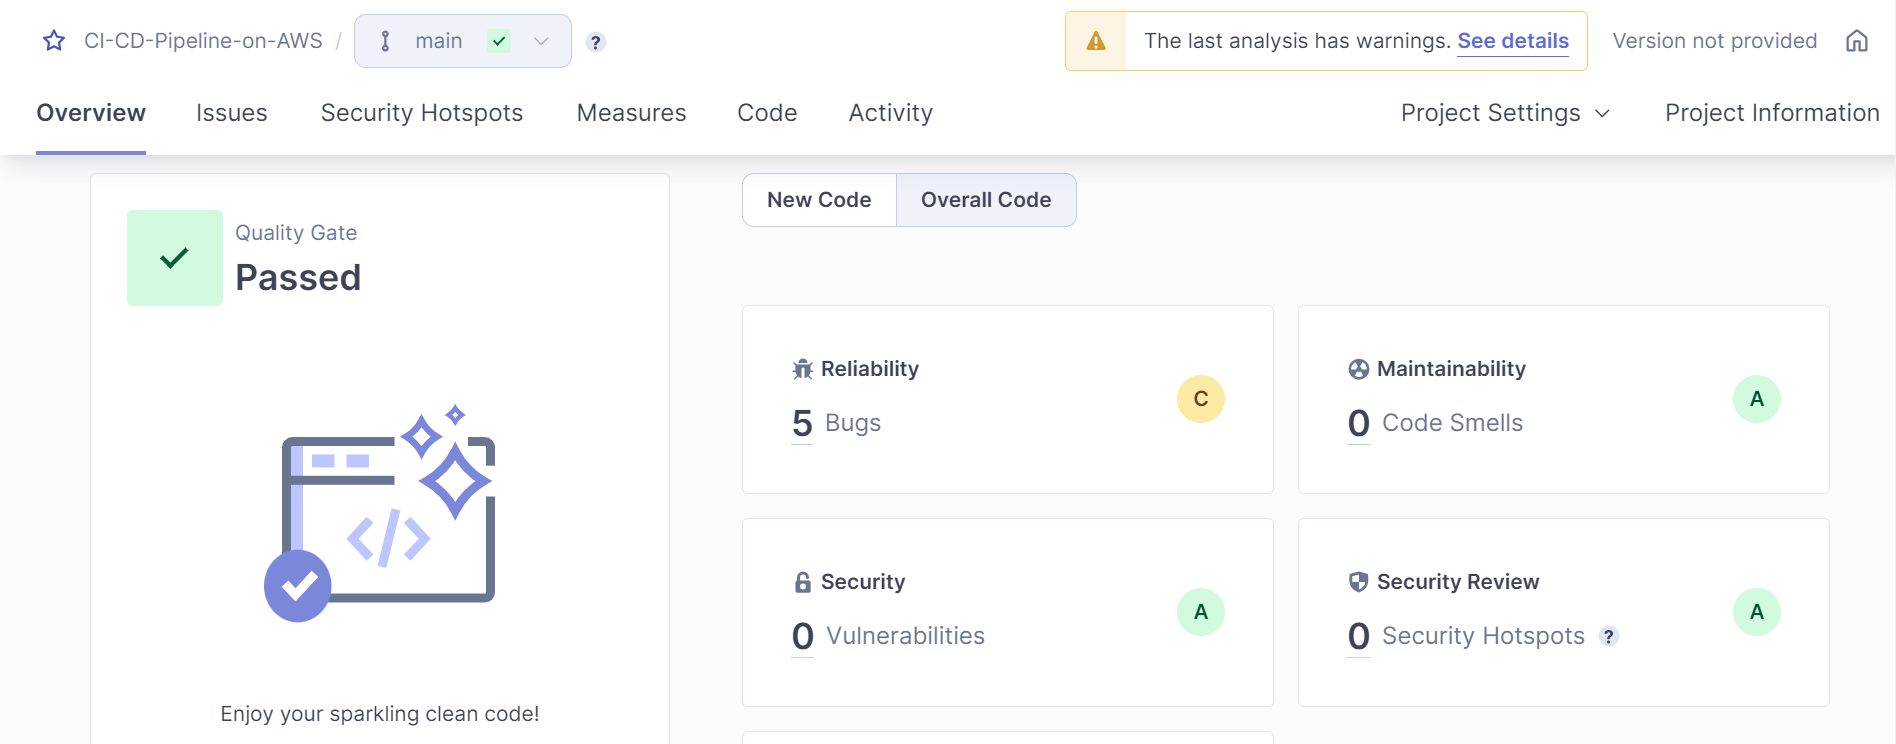
Go back to the pipeline and build and verify its working. Navigate back to the sonarqube website and refresh the page and ensure the code passed.

STEP THREE: DEPLOYING CODE TO DOCKER SERVER
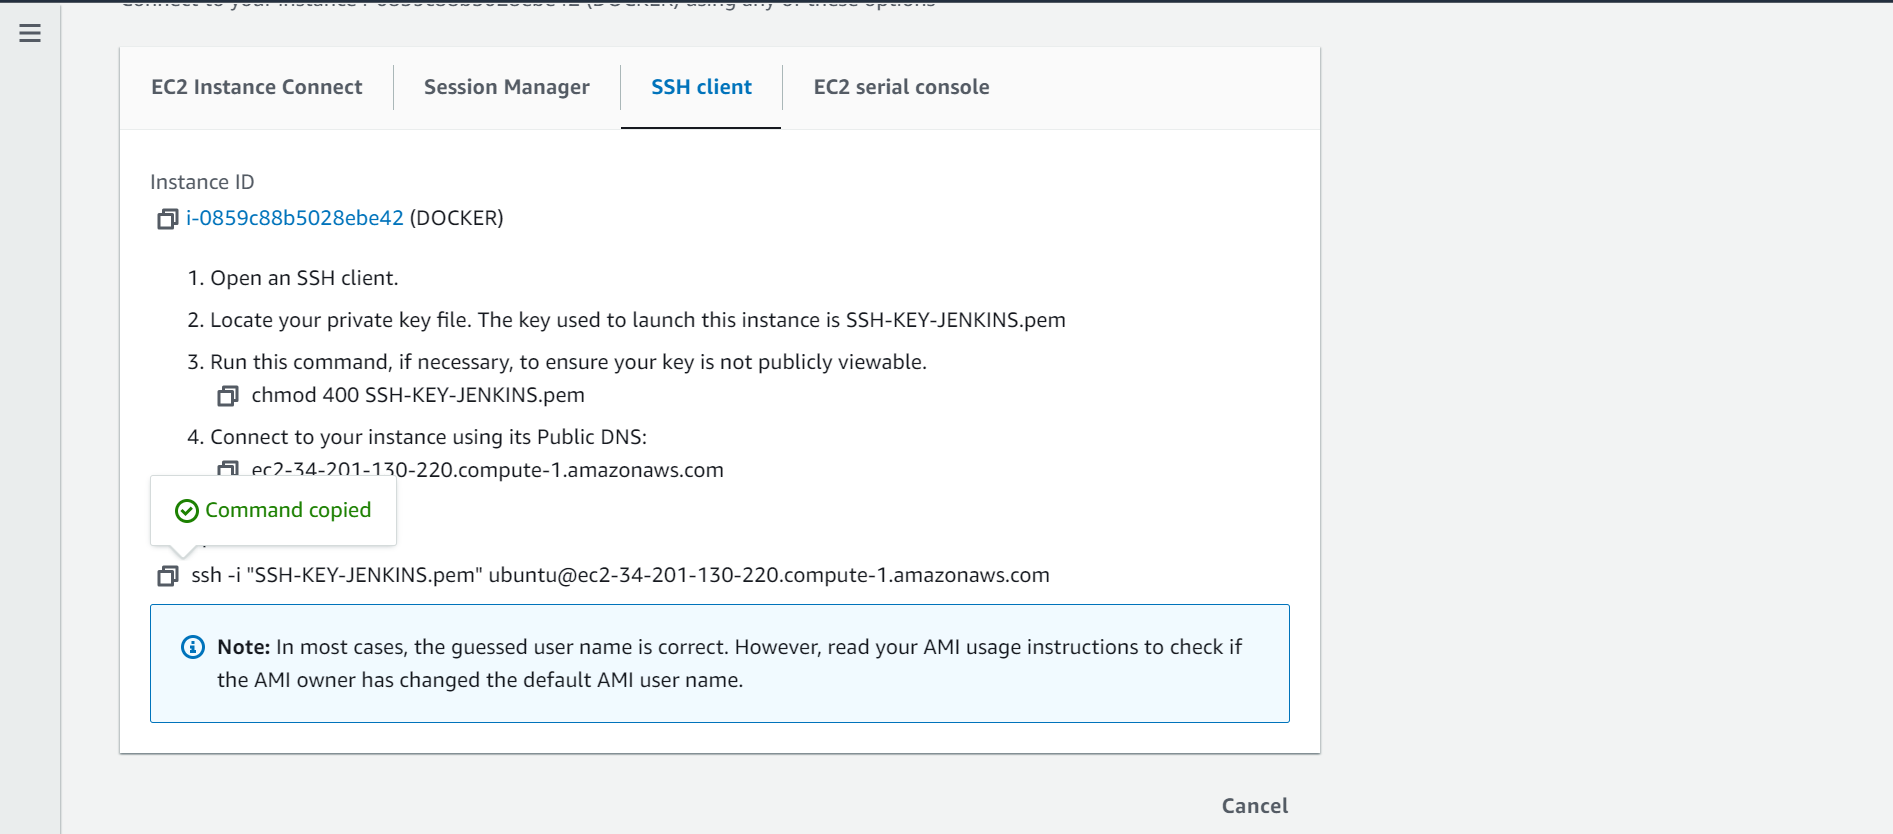
SSH into the docker instance
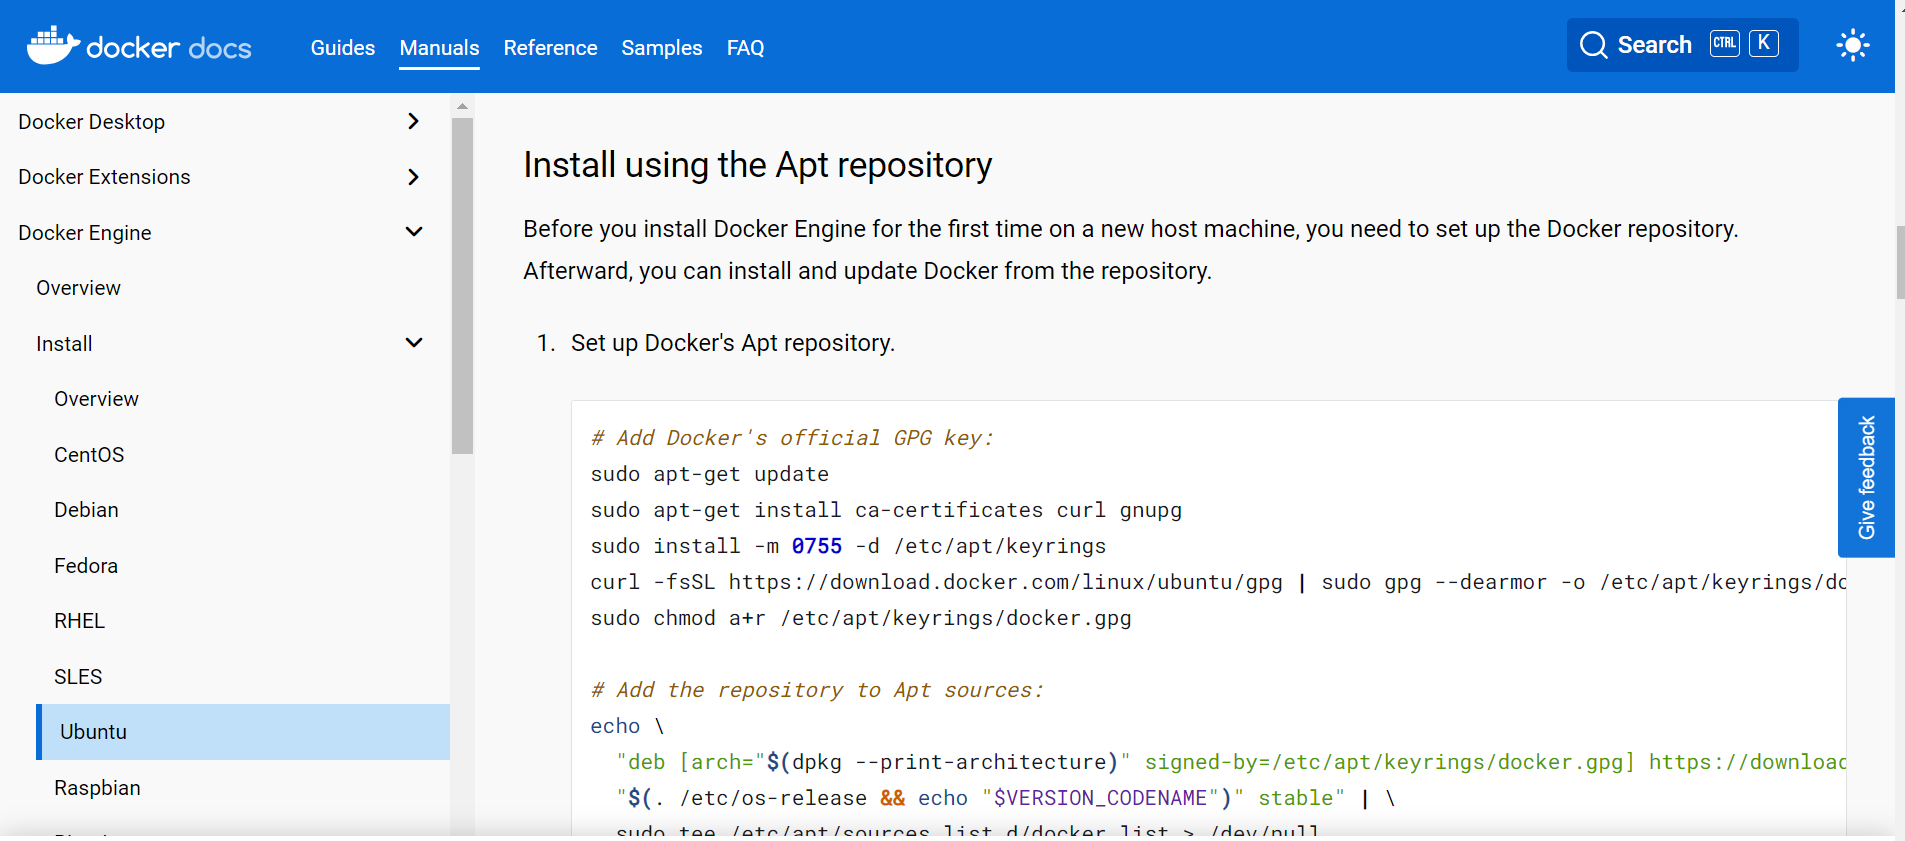
Navigate to the Install docker website and choose your OS then follow the “Install using the Apt repository” instructions
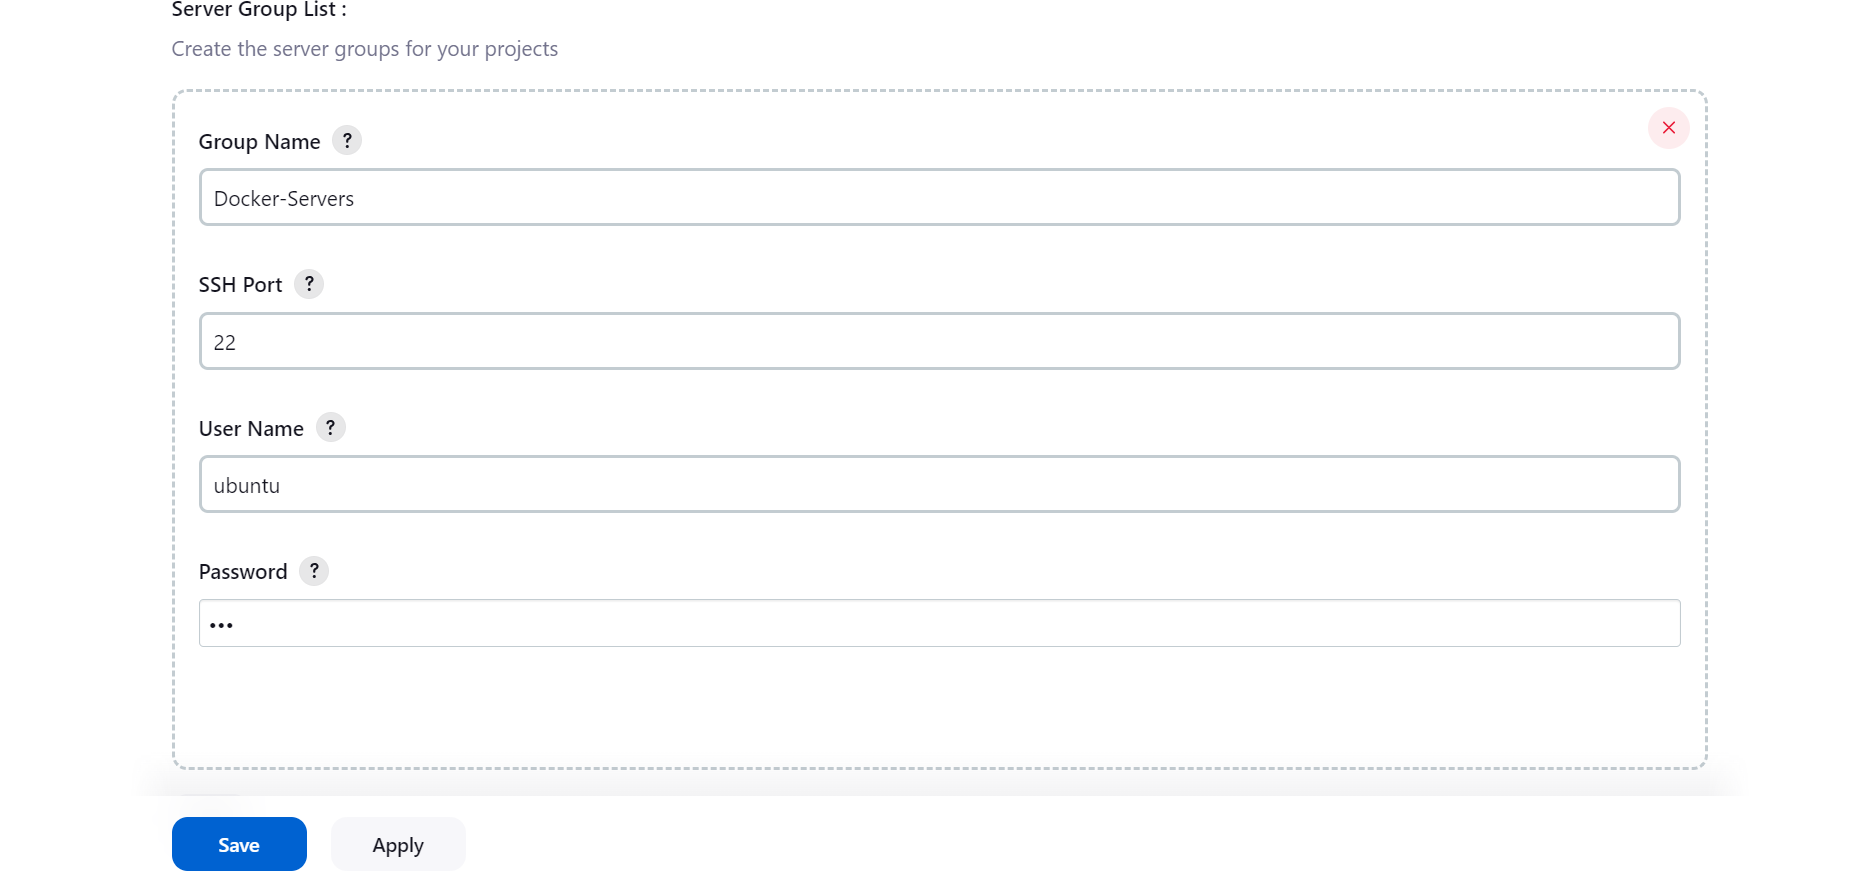
Navigate back to the Jenkins website and click on “manage Jenkins” then click on “System” to add the Docker SerVER. Look for “Server Groups Center” and add a group. Input the details and click on save

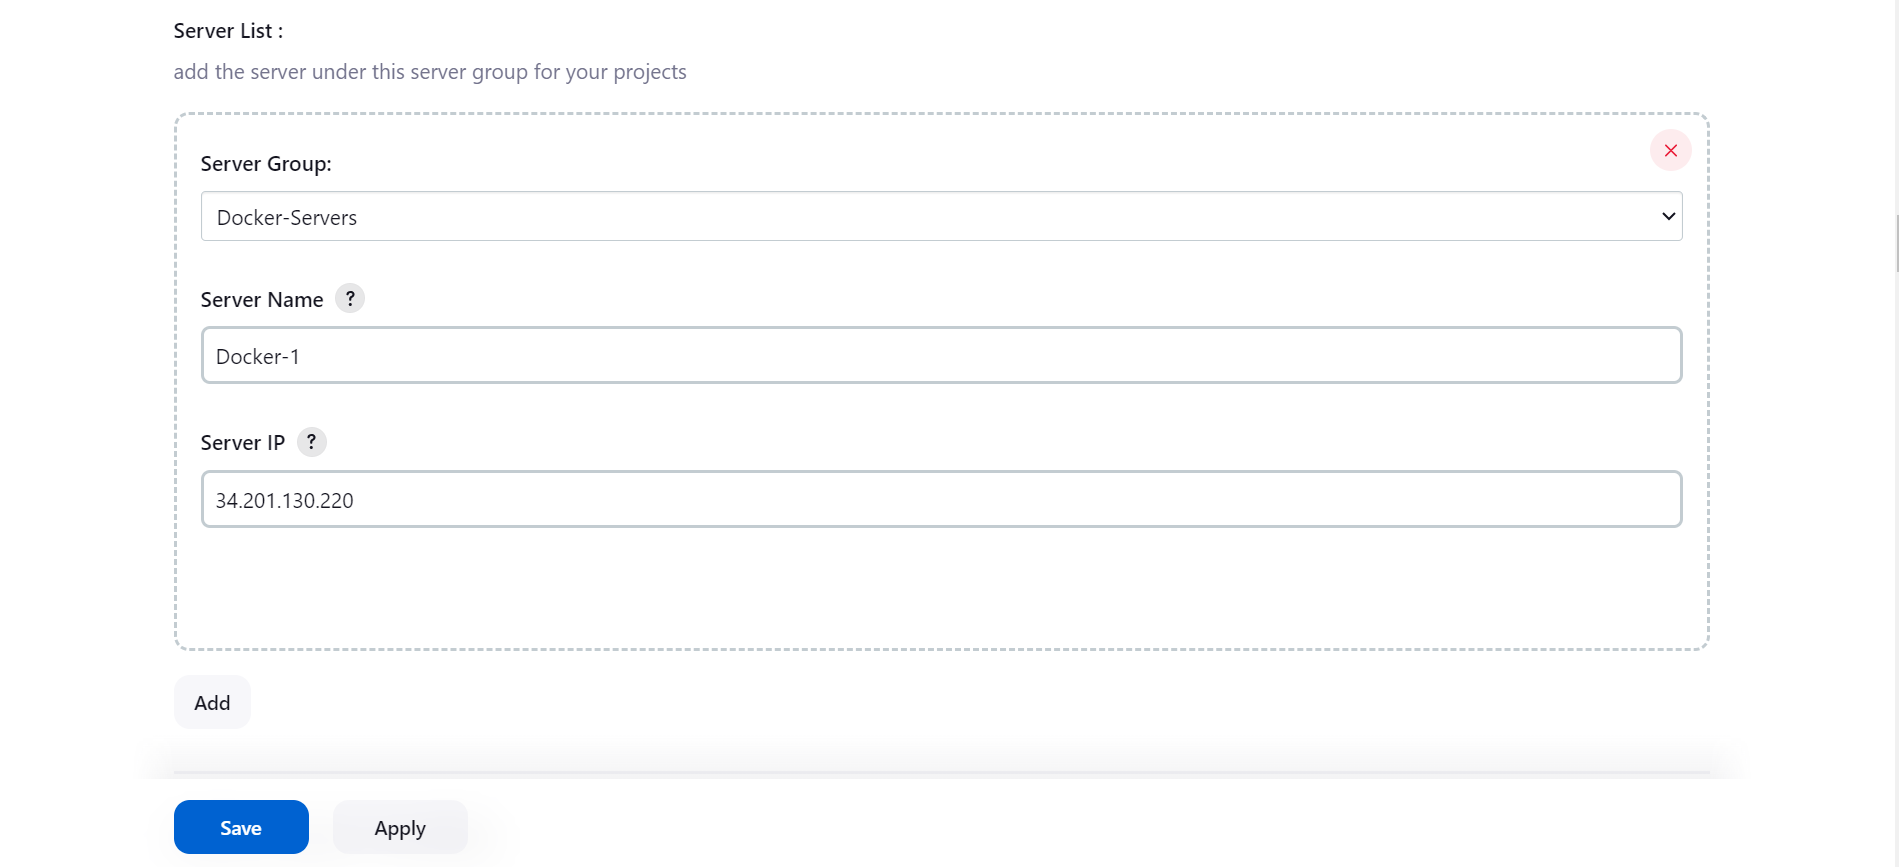
Navigate back to the Jenkins website and click on “manage Jenkins” then click on “System” to add the Docker SerVER. Look for “Server Groups Center” and add a server. Input the servername and use the Docker-Instance IP as “Server IP”

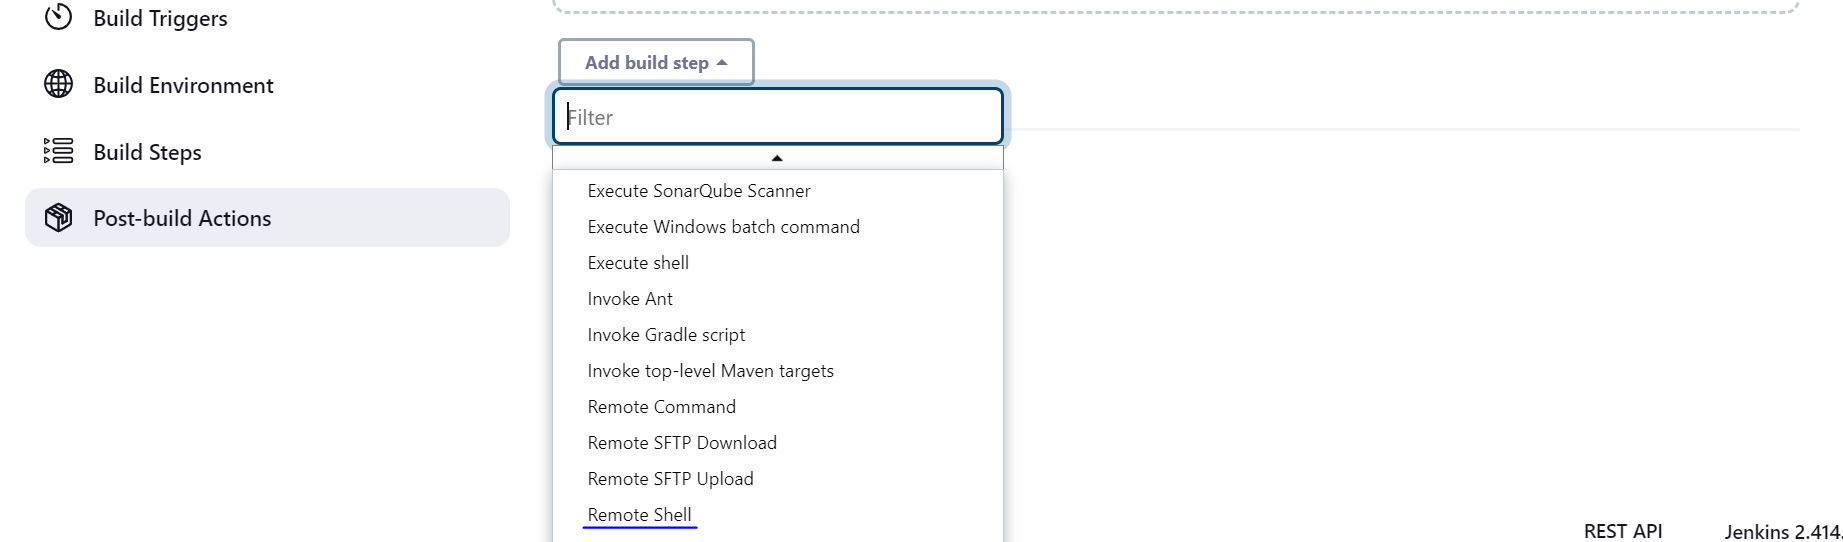
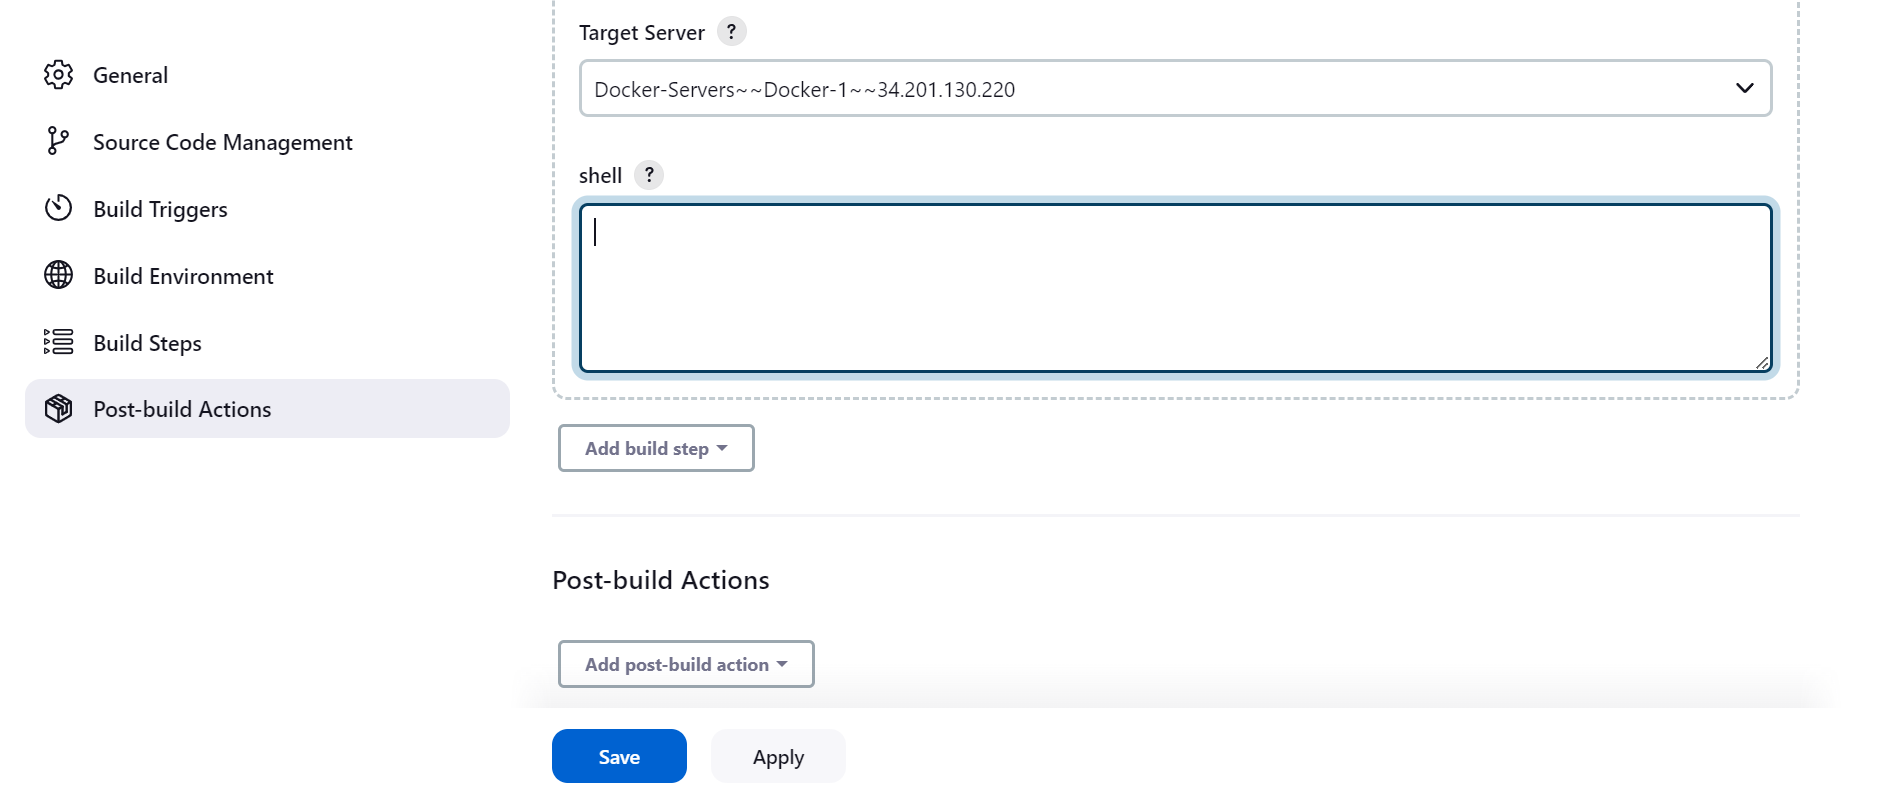
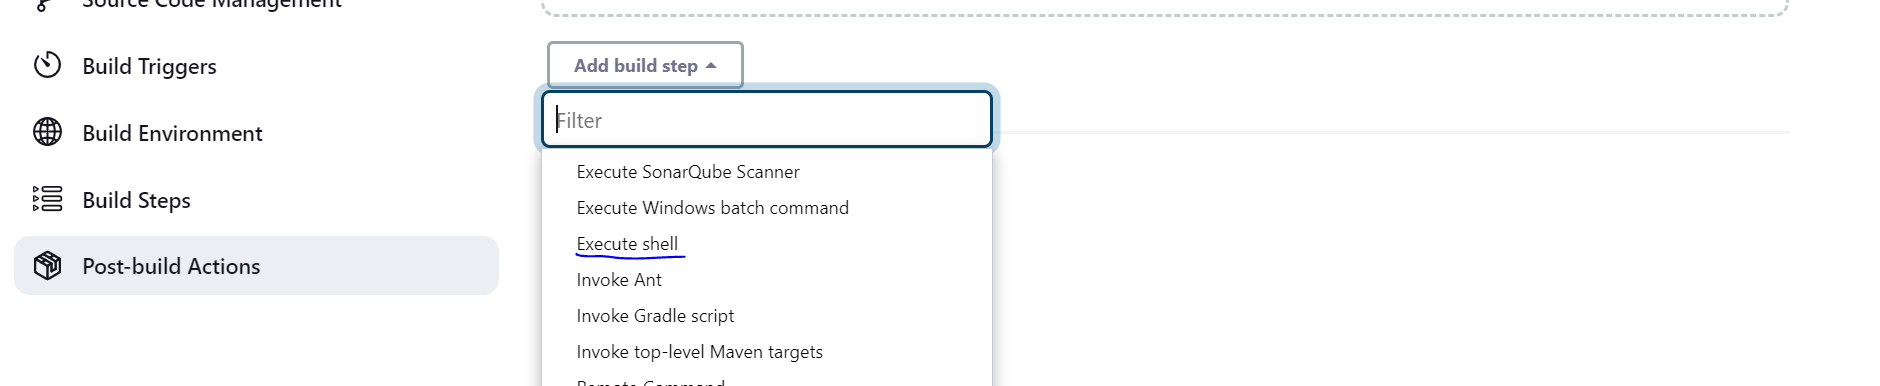
Navigate back to the Jenkins-pipeline you created and click on configure. Add a build step to execute the remote shell.
Navigate back to the GitHub Repository and create a new DockerFile

Navigate back to the configure tab and add build step “Execute Shell”. and type the command “scp ./ubuntu@(Docker-Instance-ip):~/(path of folder you want to save contents)
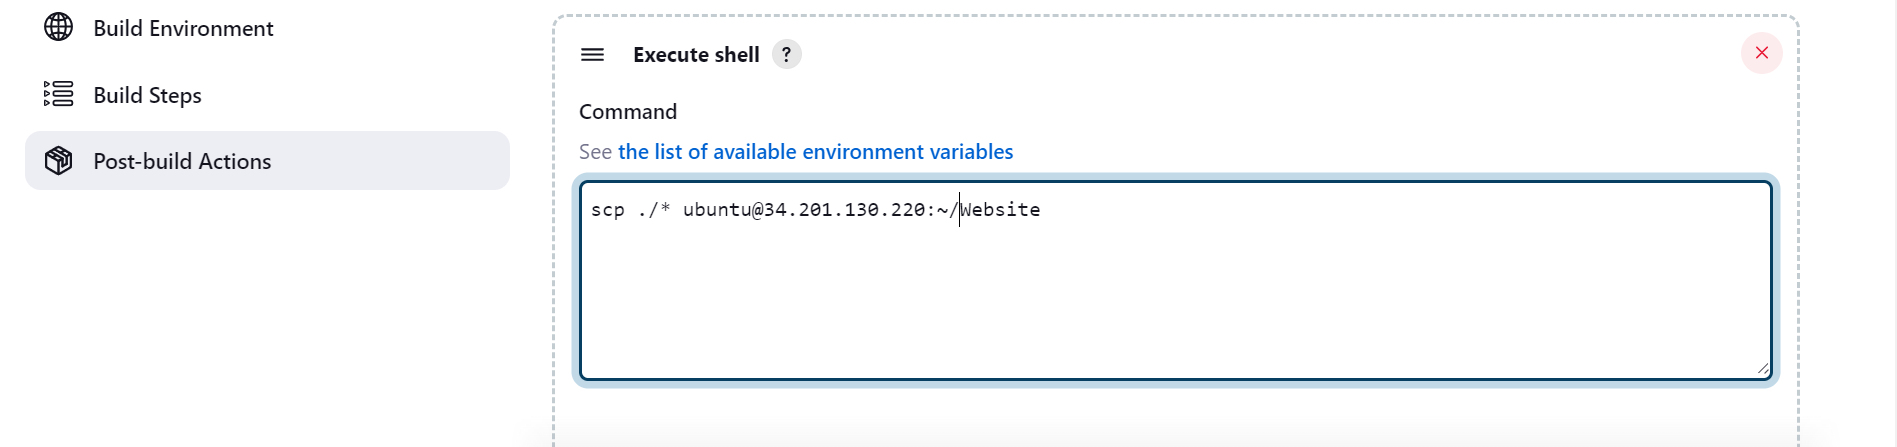
IT IS NOT RECOMMENDED SAVING THE “DOCKERFILE” IN SAVE REPO AS WEBSITE
Verify contents of repo are in the folder

Navigate back to the Jenkins-pipeline you created and click on configure. Add a build step to execute the remote shell. Remember to allow for ports configured in the Instance
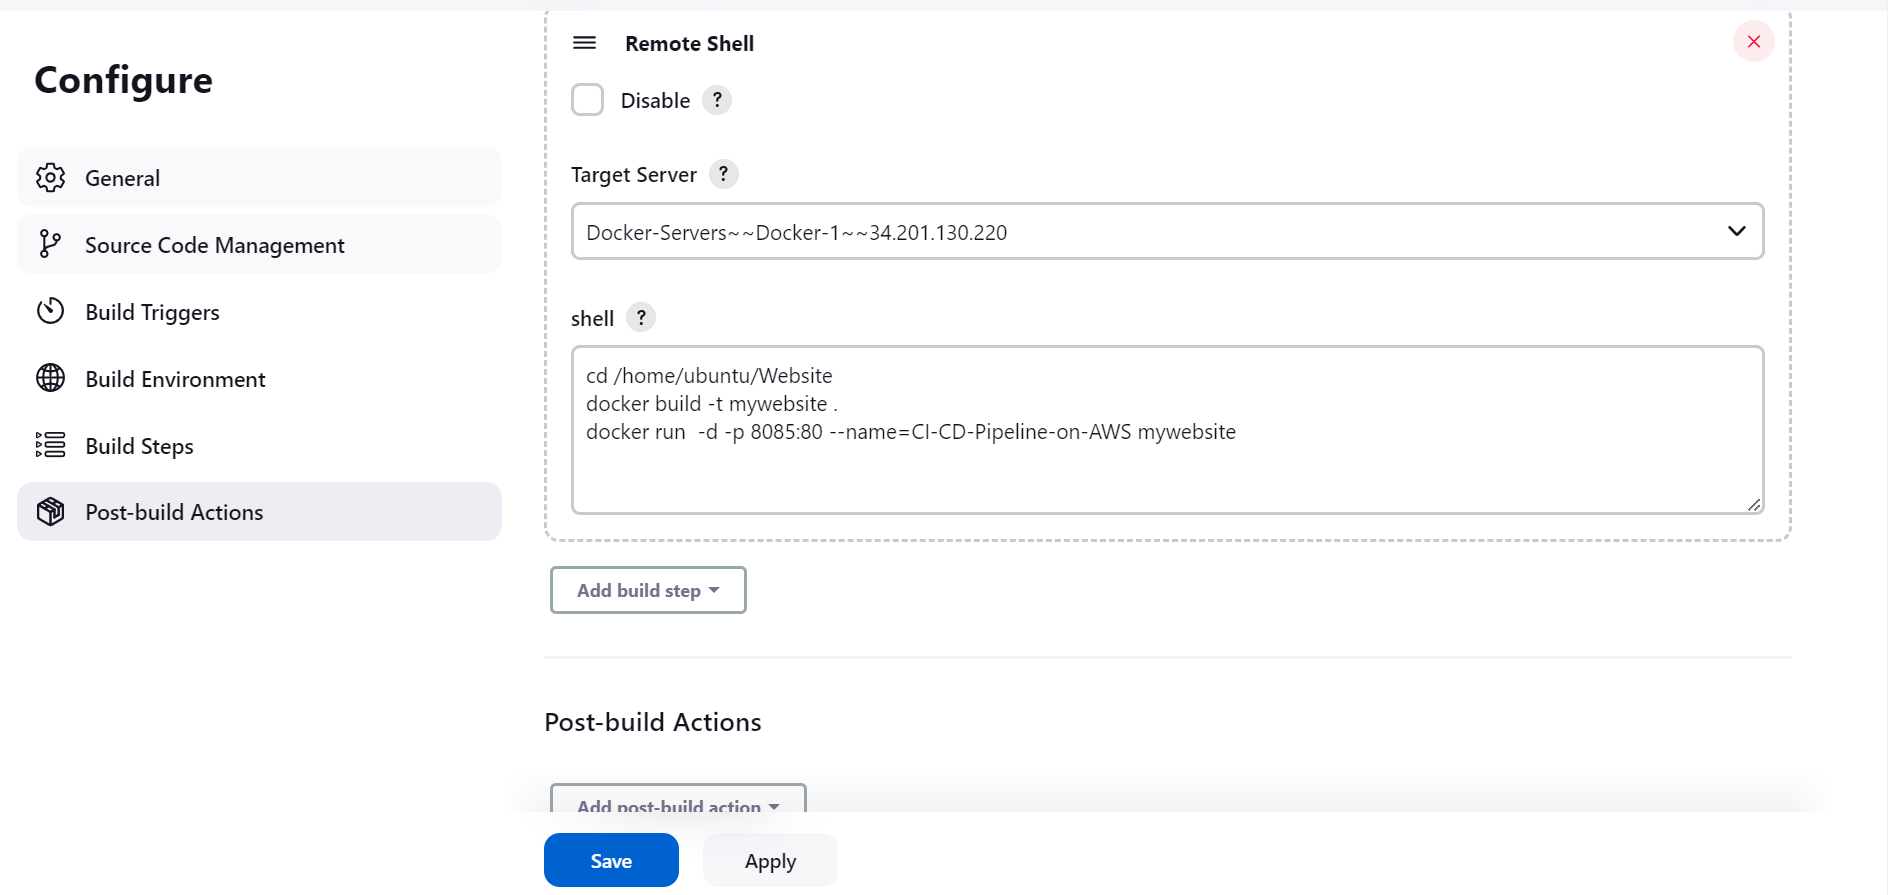
YOUR WEBSITE SHOULD NOW BE WORKING
